2003-07 HONDA ACCORD |
||||||||||||||||||||||||||||||||
|
1. First Remove your shift knob by untwisting it. It may be a little tight but twist it a little harder and it will come off.
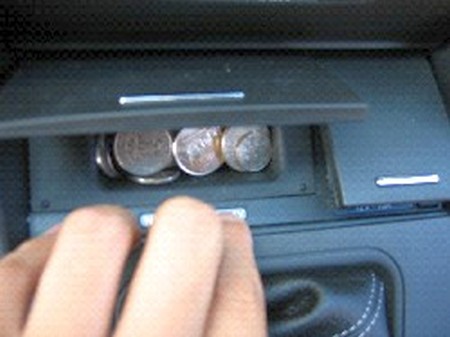
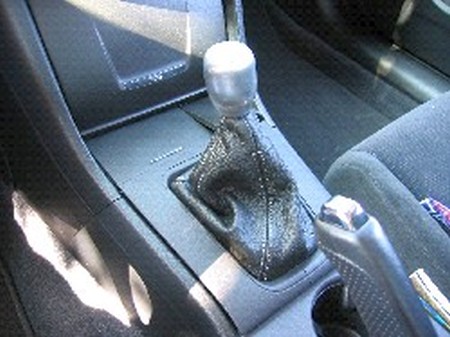
2. In order to access the shift boot, the top panel must be removed. This can be accomplished by opening the “not an ashtray cover” and the cigarette lighter cover. Place your fingers against the shifter trim and pull upwards. |
|
|
3. There are a total of 6 clips that you must release. 2 at the front where the dash trim meets the “ashtray” and cigarette lighter cover. There are 2 on the left and right side of the trim. BE VERY CAREFUL when removing the trim or else you might snap it. You can make this process a bit easier by placing your fingers under the shiftboot and try pulling upwards through the hole covered by the shift boot. |
 |
|
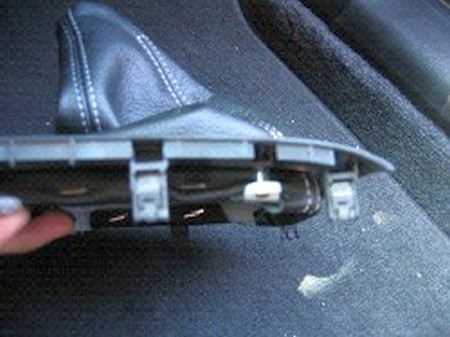
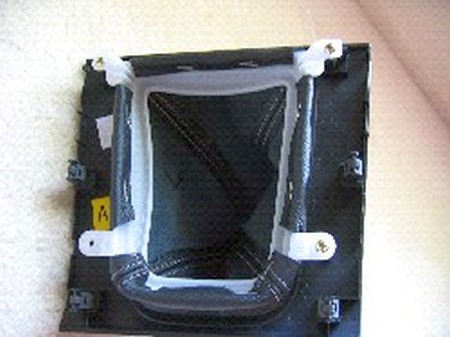
4. After removing the shifter trim you will notice that the shift boot is secure to a white plastic piece that is screwed on to the trim. Remove the 4 screws and separate the shift boot from the trim. |
 |
|
5. The shift boot is attached to the white plastic piece using 8 staples. You must remove these staples. |
 |
|
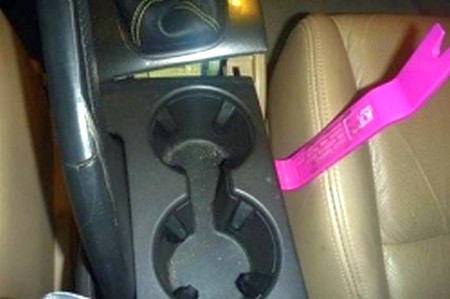
6. Pry up on the sides of the ebrake cover, and then pull up and remove it. |
 |
|
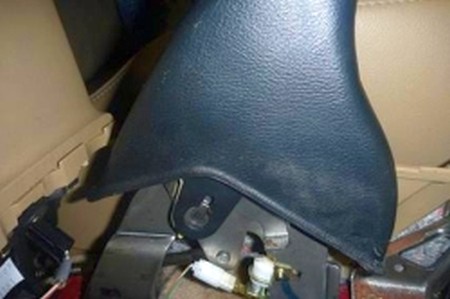
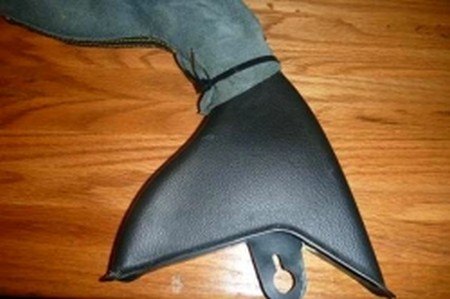
7. The stock ebrake boot is secured to the parking brake assembly by a tab at the bottom of the boot, as shown in the bottom of the photo. It can be released by pulling the tab off the metal rod. Next pull the ebrake boot off the metal ebrake handle. The boot is also glued onto the metal handle about halfway up the boot, on the side of the handle closest to the driver. If the boot doesn’t release with moderate force, then simply leave the boot on (instructions for that option are provided in the following). |
 |
|
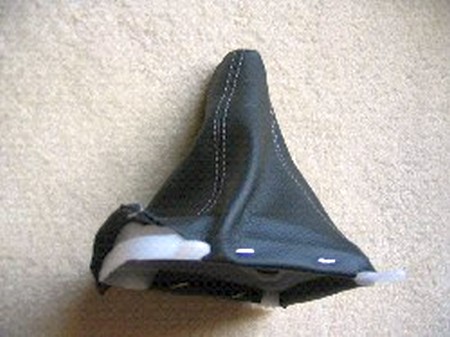
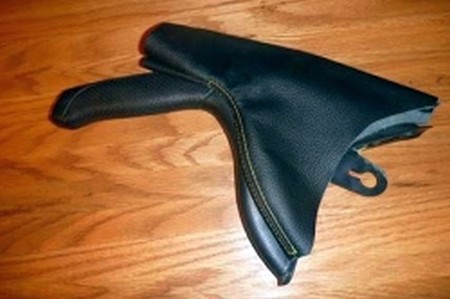
8. Here is the new leather boot next to the stock boot. Note that the stitching in the front of the leather boot ends about even with the start of the handle portion of the stock boot, so that the top part of the boot must be folded into itself so that the stitching in the front is at the top of the boot when folded. |
 |
|
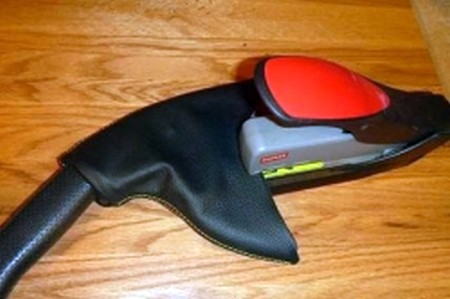
9. Turn the leather boot inside out, then pull the top opening over the stock boot as shown until it stops. Then tie it off with an 8” plastic cable tie, with the box end of the tie facing toward the front of the handle (if it’s on the side you may not be able to slide the ebrake cover you removed over it). Pull the cable as tight as possible, then cut off the excess plastic cable tie end. This step can also be performed without removing the stock boot. |
 |
|
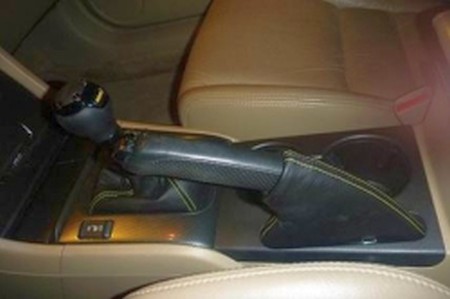
10. Turn the leather boot back over the stock boot handle and pull down over the bottom half of the stock boot so that it is even with the bottom, as shown in the photo. To anchor the bottom of the leather boot you can use a heavy duty staple as shown below, or glue it to the stock boot. Gluing is the only option if you did not remove the stock boot. Be sure to wait until the glue dries. |
 |
|
11. You are now ready to reinstall your ebrake boot. Slide the boot over the metal handle, anchor the boot tab at the bottom to the metal rod, slide the plastic cover over the ebrake handle with your new boot attached, push it down until it locks. |
 |
|
12. The installation of the new shift boot is pretty much the reverse of steps 1-5. I took the time to re-staple the boot back to the white plastic piece however it is time consuming without the right tools. You can choose to just glue the shift book back on with some type of glue to make things easier. Then reinstall everything in the reverse order of removal. |
 |
|
ARMREST COVER |
|
|
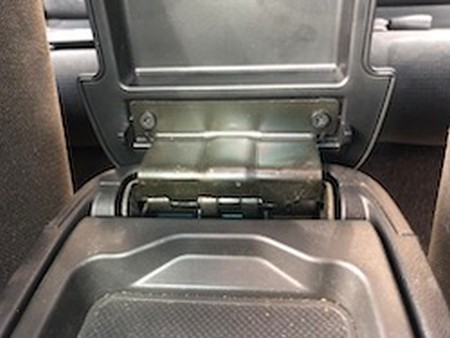
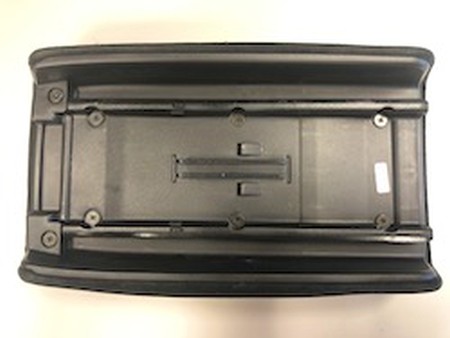
2. Next, you have to remove the sliding panel off of the armrest. With the panel in the middle (not all the way out or all the way in), gently pull on the corners of the panel. The sliding panel should come off of the track without needing any tools. |
 |
|
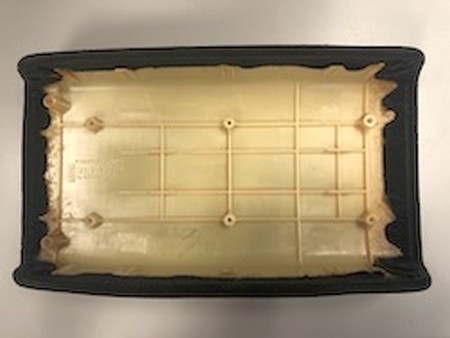
3. Remove the 8 screws on the bottom of the panel and remove the track and base. |
 |
|
4. Install the new armrest cover with fabric adhesive - 3M SUPER 77 or similar. This can be done in sections in order to work out the wrinkles as you stretch it. After glue has dried, reassemble the armrest in the reverse of these steps. Be sure to coat with your preferred leather protectant.
|
 |
|
CONGRATULATIONS - YOU HAVE SUCCESSFULLY INSTALLED YOUR NEW LEATHER BOOTS!
Useful tip You have installed a product made out of genuine leather. As you know, to maintain a leather product in good condition, you should take care of it. We suggest occasionally (every 4-6 week for example) applying some leather conditioner/UV protector to keep your leather from drying up in the sun and cracking. |
|
Subscribe to our newsletter to get an instant 20% discount!