2010-14 SUBARU LEGACY |
||||||||||||||||||||||||||||||||||||||||||
|
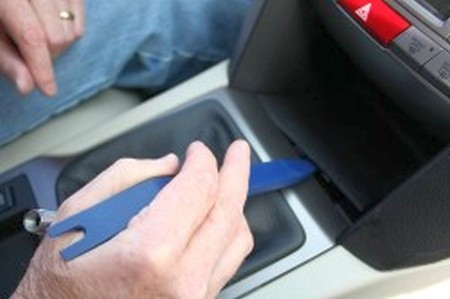
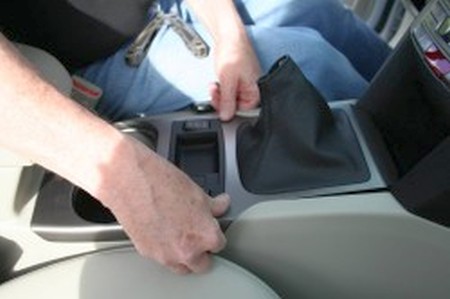
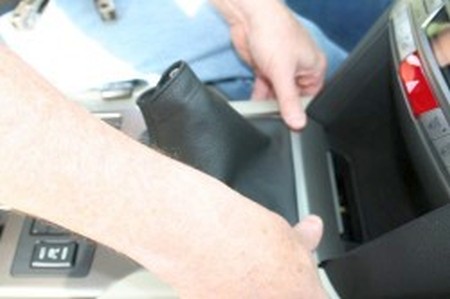
1. Remove the shifter knob, and then use a trim removal tool or a small screwdriver to remove the rubber mat from the change cubby hole. |
 |
|
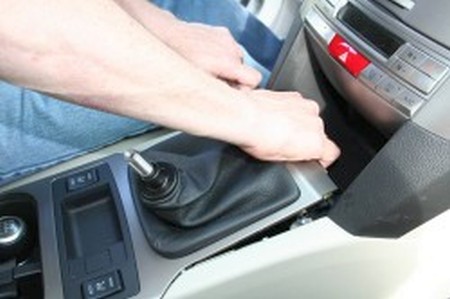
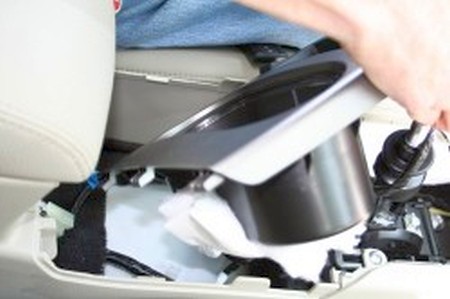
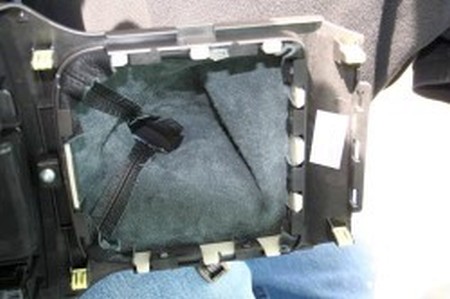
2. Put you hand in the hole reveled under the rubber mat and gently pull up. |
 |
|
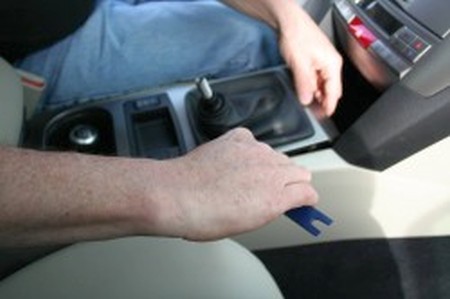
3. Use your trim tool to pry up the center clip as shown in picture 3. |
 |
|
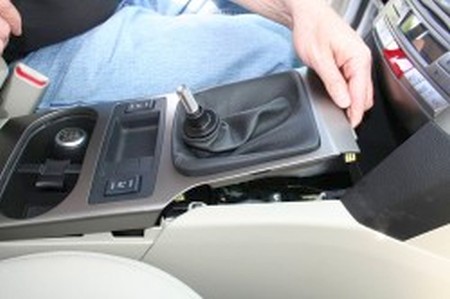
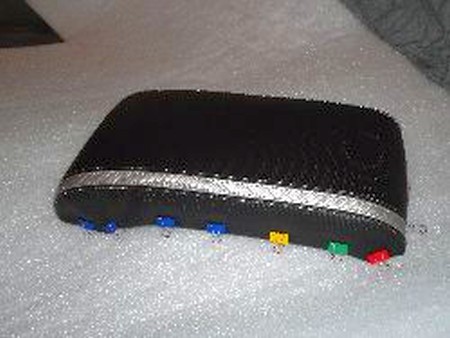
4. Notice the yellow clips location in picture. |
 |
|
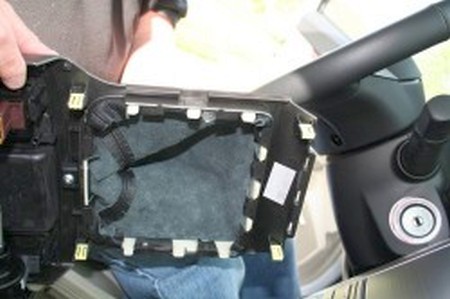
5. Slide the consol out to remove notice the slide clips in picture |
 |
|
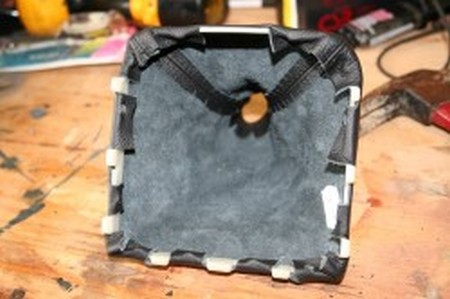
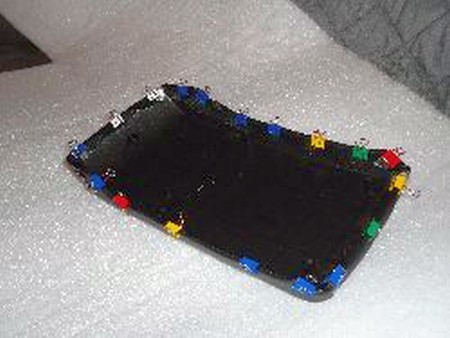
6. There are 9 clips around the bracket holding it to the consol as shown in picture 6. Start at the front right corner and release each clip to remove the boot and bracket. Once that is removed you can pull the boot off the bracket by unbuttoning the leather. |
 |
|
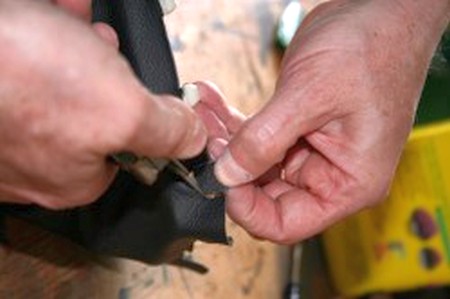
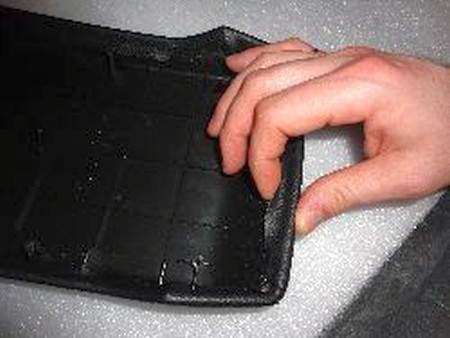
7. To install the new boot I used a gold pen to mark where you need to punch holes to attach the leather boot to the bracket as shown in picture 7. Or you can glue the leather to the bracket as some have done but I opted to punch the holes. |
 |
|
8. I used a small flat head screwdriver to punch the holes as shown in picture 8. |
 |
|
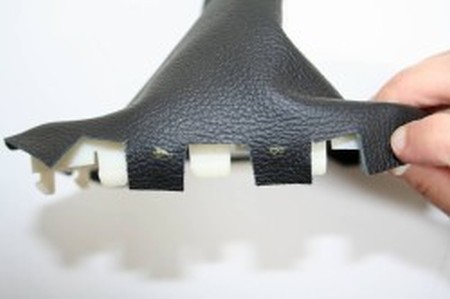
9. Notice in picture 9 that there were 2 places the boot was not cut and there were clips on the bracket. |
 |
|
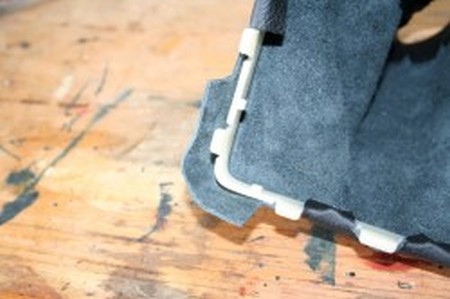
10. I used a small scissors to make the cutouts (Very easy) |
 |
|
11. New boot on the bracket. |
 |
|
12. Push the bracket on to the consol. Because the new leather boot is thicker than the old boot I had to work to get all the clips to seat. Take your time and make sure the leather is not bunched up anywhere around the bracket. |
 |
|
13. Slide the rear tabs in than push down to seat the middle clips. |
 |
|
14. Push in the front clips to secure the consol picture 14. |
 |
|
INSTALLING THE ARMREST COVER |
 |
|
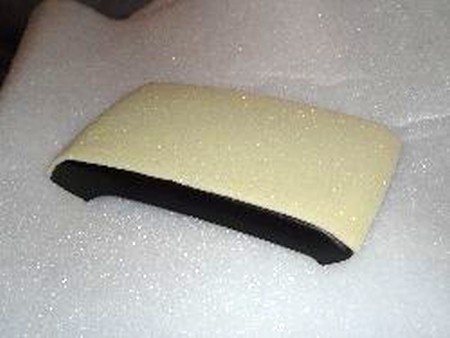
2. Flip the armrest cover and start peeling back the old leather cover. Once you are done you are left with this. |
 |
|
3. Place your new armrest cover over the plastic piece. I held it in place with the little clips to get the right fitment. At this point I have not glued anything. |
 |
|
4. Remove the clips on one side at a time. Add glue and put the clips back until the glue has set. Make sure that the clips donÕt stay on too long or there will be little marks on the material. Work your way around all four sides. |
 |
|
5. Once the glue has set you are ready to re-install. Simply replace the 6 six screws removed in step 1 and you are all set. |
 |
|
Congratulations, you're DONE! |
|
|
Useful tip You have installed a product made out of genuine leather. As you know, to maintain a leather product in good condition, you should take care of it. We suggest occasionally (every 4-6 week for example) applying some leather conditioner/UV protector to keep your leather from drying up in the sun and cracking. |
|
Subscribe to our newsletter to get an instant 20% discount!