1993-99 VOLKSWAGEN GOLF MK III |
||||||||||||||||||||||||||
|
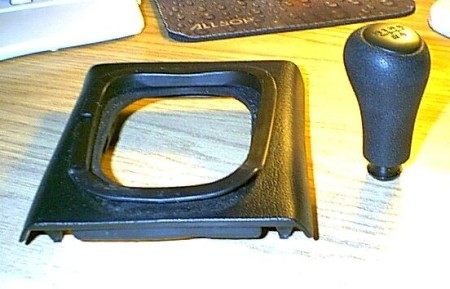
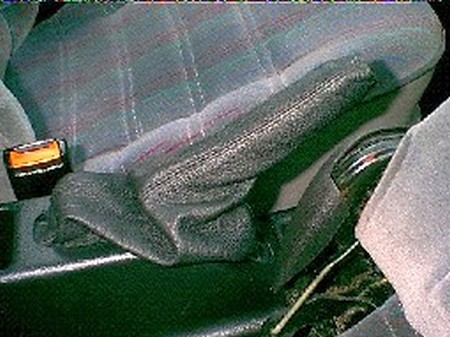
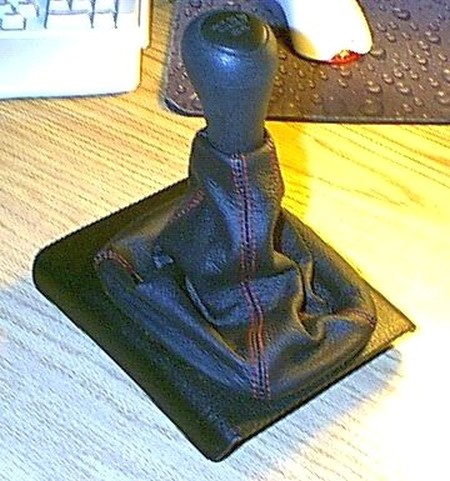
1. Remove old rubber shift boot from bottom of the console by pulling it lightly off the collar. Refer to the photo for a view of the stock OEM shift knob and plastic console (OEM rubber boot not pictured). |
|
|
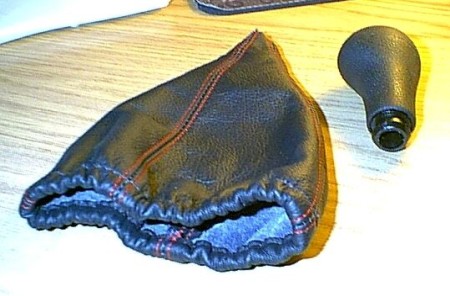
2. Unscrew the OEM shift knob by turning counter-clockwise until you are able to pull off the knob and boot together from the gear shaft. Remove the old shift boot by pulling it off the shift knob.
Note: Some later Jetta III models have a revised gearshift knob. This knob uses a different mounting method and does not unscrew by turning counter-clockwise. Before attempting to turn the knob to remove, please refer to both the Golf/Jetta 1993-99 (Mark 3) and the Golf/Jetta 1998-04 (Mark 4) instructions to determine which knob mounting your car has and follow the appropriate directions. |
 |
|
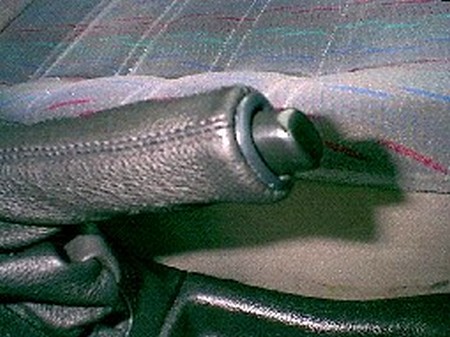
3. Working with the new leather shift boot, flip the boot inside out and slide the 1" top opening over the bottom recess of the shift knob. Use a thin plastic zip tie or equivalent and wrap around the recessed part as pictured below. Once you are done, invert the shift boot back to normal and pull down on the leather boot to position it the way you want. |
 |
|
4. Screw the shift knob back onto the gear shaft clockwise until you have it at the normal position. Lastly, stretch the elastic bottom of shift boot to fit over the console recess and you are done. |
 |
|
5. These instructions are for the OEM shift knob but any aftermarket shift knob can be used with this leather shift boot. |
 |
|
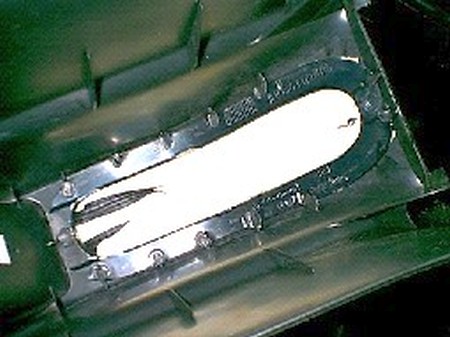
6. Using a flat head screwdriver, carefully pry off the plastic ring in front of the handle. |
|
|
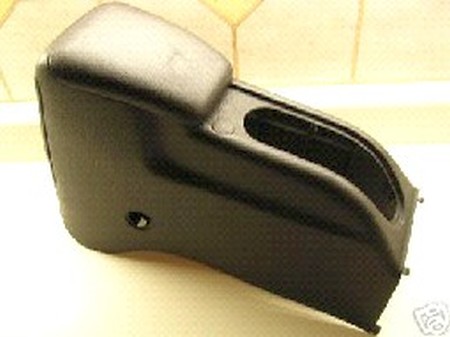
7. Remove the rear part of the center console.
NOTE: 93-98 VW Golf/Jetta came with 2 different kinds of center consoles. Some early 93-94 models came with a different, rare version of the console. All 94-98 models came with the console pictured on the right. For this installation, an early console was used, but the 94-98 console is very similar (and easier to work with). |
|
|
8. The newer console is held in place with 2 side screws. Slide the front seats forward and you will see 2 round plastic covers (one on each side) which need to be removed to get to the screws. If you have an early console, the center console is held in with only one screw at the bottom of the rear cubby hole.
9. Once the screws are removed, pull the console up and unplug the rear hatch release connector from underneath the console (newer 94-98 console only). The early console doesn't have any connectors to unplug. Slide the factory shift boot up the handle (you may have to twist it right to left to loosen it up) and towards the front so you can remove the entire rear part of the console. |
|
|
10. The boot is held in with a plastic bottom that is clipped onto the console. The early console has more clips and is more difficult to remove. The newer console has only 5 clips and is very easy to remove for the underside of the console. Carefully using a flat head screwdriver (on early console only), undo the plastic bottom and remove the boot. Be sure not the break the clips, they are fragile. On the newer console, you only have to squeeze the plastic bottom together and it releases. |
|
|
11. The factory boot is held onto the bottom plastic console with either glue (early console) or is stapled on (newer console). You can remove the boot from the early console by just carefully pulling on the factory boot while holding the plastic bottom. On the newer console, you will either have to pull all the staples or you can just cut with scissors and leave the staples.
12. For the early console, you can re-glue the new leather boot just like the OEM boot using leather glue. However, I find it easier to just tape the edges of the boot to the plastic bottom to hold the boot in place while you reattach clips. For the newer console, you can either staple the boot back on or tape the edges to the plastic bottom to hold it in place. Either way, the clips provide enough force to hold the boot in place without having to use glue or staples and the tape will not show. |
|
|
13. Clip the plastic bottom back onto the center console. The end result should look like this (early console shown). |
|
|
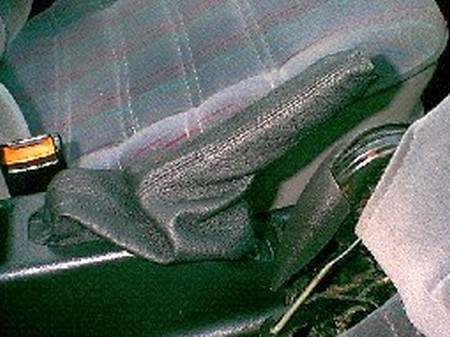
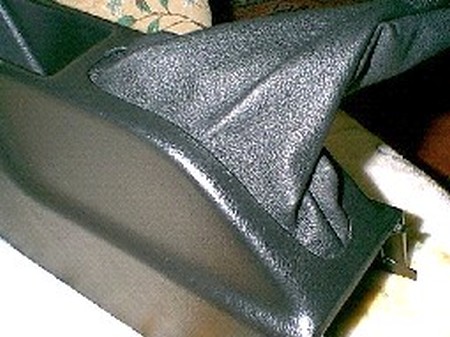
14. Now you are ready to install the console back into the car. Once you have the console in place, slide the new leather boot a little in front of the handle as pictured below. Carefully fold the extra length of the boot inside the handle and snap the plastic ring back in as pictured on the right. |
|
|
CONGRATULATIONS - YOU HAVE SUCCESSFULLY INSTALLED YOUR NEW LEATHER BOOTS!
Useful tip You have installed a product made out of genuine leather. As you know, to maintain a leather product in good condition, you should take care of it. We suggest occasionally (every 4-6 week for example) applying some leather conditioner/UV protector to keep your leather from drying up in the sun and cracking. |
|
Subscribe to our newsletter to get an instant 20% discount!