1995-05 CHEVROLET CAVALIER |
||||||||||||
|
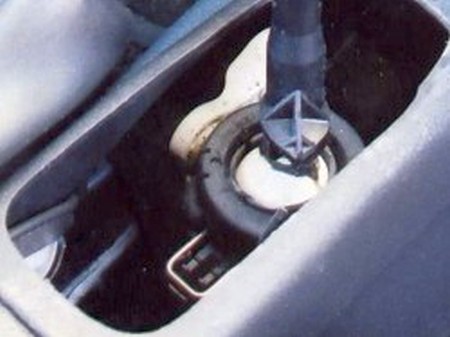
1. Remove the Boot from the console, by disengaging the tabs holding it in place. (use a thin putty knife, there are two tabs on each side) |
|
|
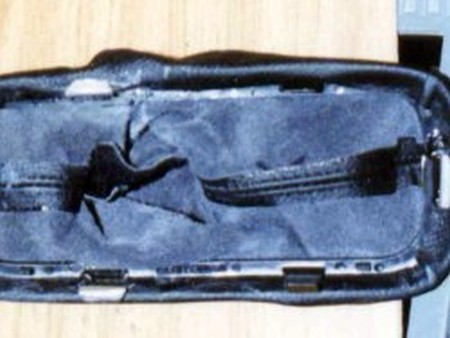
2. Next remove the boot from the lower plastic frame (this has the tabs attached to it that holds the boot in place on the console) |
|
|
3. Glue the new leather boot to plastic frame. (use Automotive GOOP or any other glue specifically made for leather and plastic). Make sure you do not get glue on the visible surfaces of the leather. It will never come off completely.
|
 |
|
4. Let the boot dry in place for about 5 minutes. |
|
|
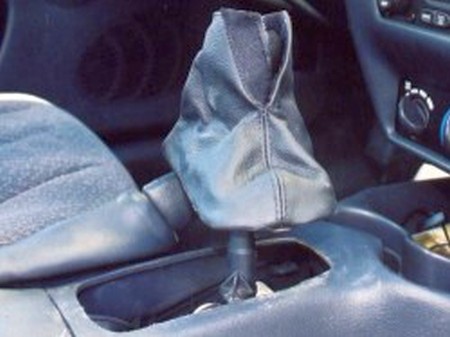
5. Re-install boot back into console. |
 |
|
CONGRATULATIONS - YOU HAVE SUCCESSFULLY INSTALLED YOUR NEW LEATHER BOOTS!
Useful tip You have installed a product made out of genuine leather. As you know, to maintain a leather product in good condition, you should take care of it. We suggest occasionally (every 4-6 week for example) applying some leather conditioner/UV protector to keep your leather from drying up in the sun and cracking. |
|
Subscribe to our newsletter to get an instant 20% discount!