2000-06 TOYOTA CELICA |
||||||||||||||||||||||||||||||||||||||||||
|
Basic Materials / Equipment needed: ~ Super Glue Corporation Fix-All Adhesive ~ Clear 100% Silicone Adhesive (Small squeeze tube; make sure to purchase watertight, indoor/outdoor style). ~ Retractable blade utility knife.
|
|
|
1. Begin by removing the silver plastic piece surrounding the shift boot. To do this, first run fingers all the way around the plastic piece to pry this piece up and off. Several wires will be attached to certain accessories mounted in this piece. Leave everything attached and just allow the plastic to hang off on the side of your centre console.
2. Unscrew shift knob. |
|
|
3. Now, proceed to remove stock shift boot by sliding it out from plastic "tabs" that secure it to the silver plastic shifter surround removed in Step 1. After, slide the stock shift boot up and off the shifter shaft. Discard stock boot.
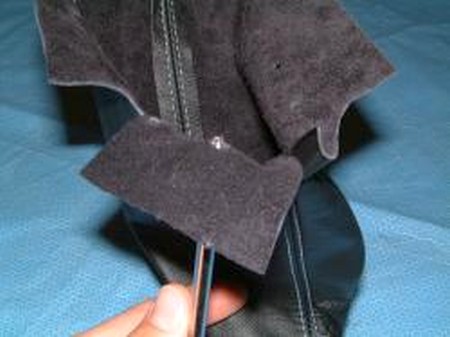
4. The wires at the bottom of the shift boot need to be moved to the new one. One of the wires will simply slide out. The other one you need to cut the vinyl fold to remove it or, better yet, take a wire coat hanger (like the ones drycleaners' shops use) and form it to the same shape as the wire in the stock boot, then slide it into the fold provided in the leather shift boot.
Then turn the silver plastic shifter surround upside down and secure the boot to it by sliding the boot under the "tabs" just like it was done on the stock design. |
|
|
5. With the new leather shift boot installed, now turn the silver plastic shifter surround right side up and slide the shift boot hole over and through the shifter shaft. |
|
|
6. This completes the installation of the new leather shift boot. If this is the only piece to be replaced, reinstall the silver plastic shifter surround and make sure it "clicks" solidly in place. Lastly, screw on your shift knob. Installation is now complete. However, if intending to install a new leather e-brake boot, leave silver plastic shift surround uninstalled and continue to next step. |
|
|
7. Gather the following additional tools:
1) Phillips screwdriver 2) 10 mm Metric socket wrench
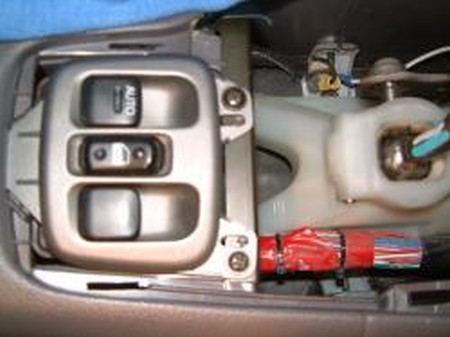
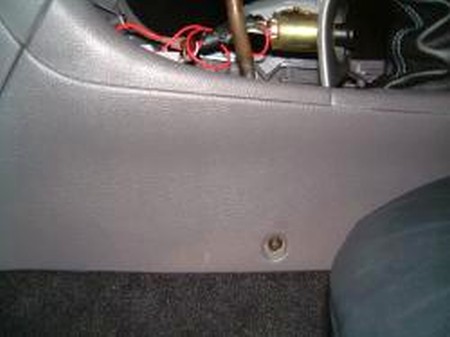
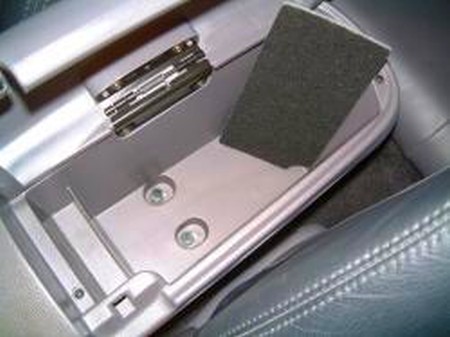
8. Now remove the centre console. A total of 10 screws will be removed in this step. Six are underneath the area that the silver plastic removed in Step I covered. Of these six, four are toward the front on the left and right sides of the centre console, and two are securing your electronic window control switches in place, along with a metal bracket underneath. In addition, disconnect the electronic window control. The next two screws are on the outside of the centre console, towards the front and against the bottom edge. The last two are contained underneath the carpet insert within the centre console glovebox and require a size 10 mm Metric socket wrench to remove them |
|
|
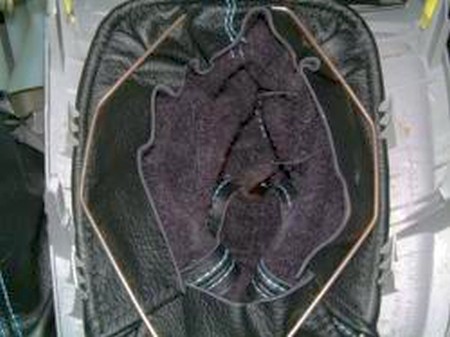
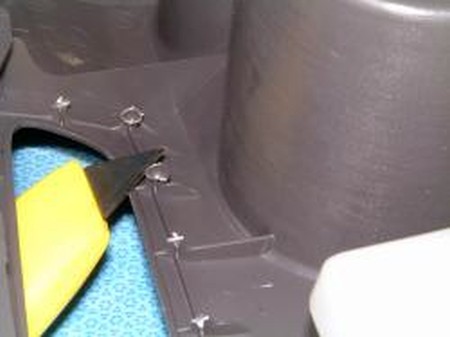
9. Next, remove rubber e-brake boot. To do this, first turn the centre console over. Next, using a retractable blade utility knife, cut off only the very top portion of each plastic peg retaining the shift boot. In total, there are 15 of these pegs. Discard the severed tops of each peg. Then, simply slide the boot up and off each peg and discard. |
|
|
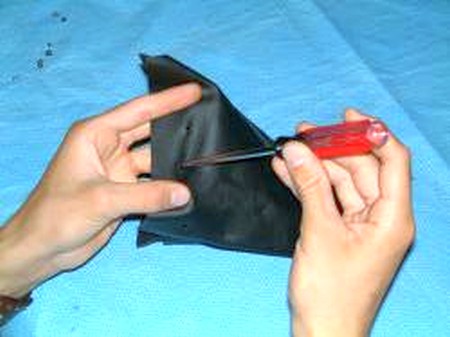
10. Test fit the leather e-brake boot over each plastic peg. This may require a little bit of stretching the leather, to reach certain pegs. This is perfectly normal. Additionally, it is recommended that each hole in the leather be stretched to better accommodate fitting each peg through it. To do this, use a screwdriver and gently push it through each hole. It is not necessary, however, to push it through the hole completely. |
|
|
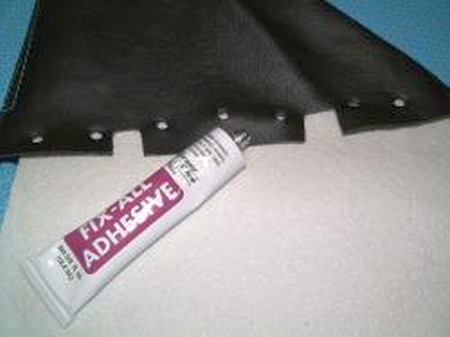
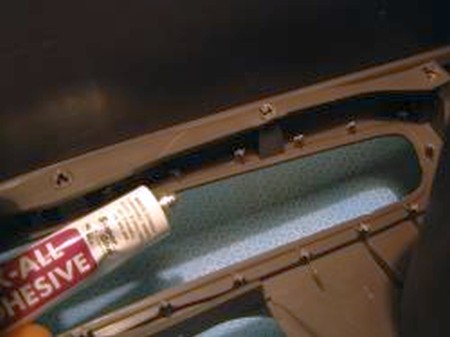
11. After ensuring the e-brake boot fits perfectly, thoroughly read usage instructions on the back of the Super Glue Corporation Fix-All Adhesive. Then, apply the adhesive to the leather. Glue should be in area between each hole, and from the outer edge of each hole (edge closest to edge of leather) all the way to the edge of the leather. |
 |
|
12. Due to the type of glue used, it is also necessary to apply glue to the plastic area underneath the centre console where the new e-brake boot will be secured. Use a minimal amount so as to avoid "seepage" when pressure is applied to the e-brake boot after it is installed. After this, allow the glue on each piece to dry for 10 minutes before attempting to install the new e-brake boot. |
 |
|
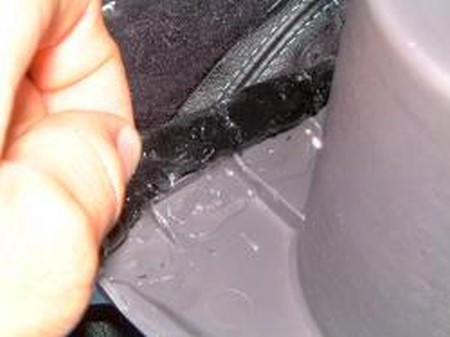
13. Now, press the new e-brake boot into place, just as done with the test fit in Step 10.
14. Glue will bond quickly, therefore it is important to work fast. Set aside the centre console and allow to dry overnight.
15. Secure any loose areas by following the adhesive application instructions in Step 11-12. Again, if this step is completed, allow the centre console to dry overnight. |
 |
|
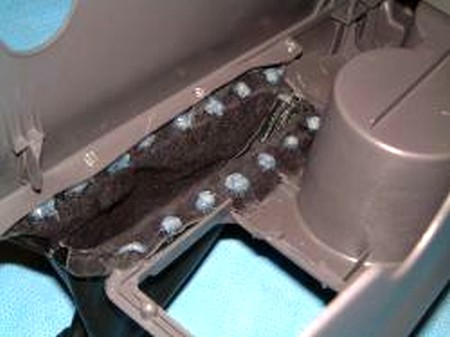
16. Now, use the silicone adhesive to apply "caps" over each plastic peg. This serves the same purpose as the original plastic tops of each peg - a last safeguard of securing the boot in case the Super Glue Corporation Fix-All Adhesive were to fail for some reason.
17. Allow the centre console to dry overnight and, when done, reinstall into the vehicle following Step I - Step VII in reverse. Be careful when sliding the e-brake through the hole in the new e-brake boot. |
 |
|
ARMREST COVER INSTALLATION
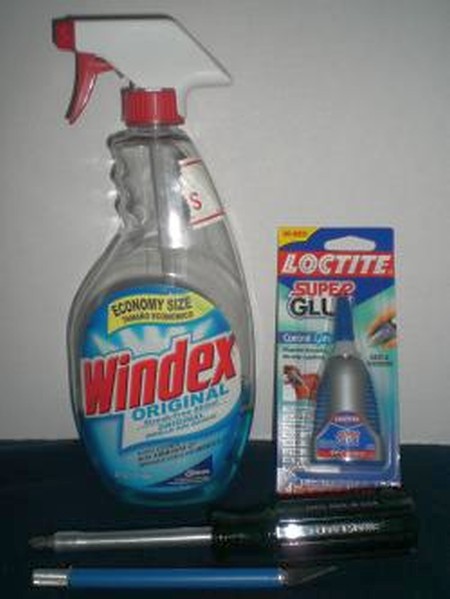
Tools needed: • Phillips screwdriver • Razor blade • Glue • Cleaner (Windex) • Metal washers (optional) |
 |
|
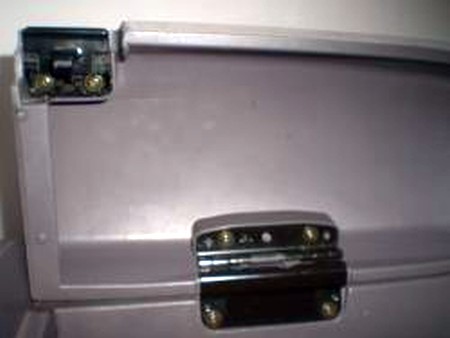
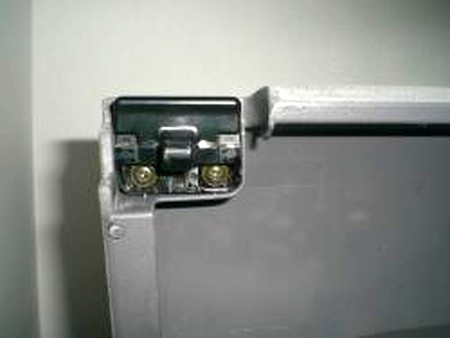
1. Open the armrest and remove the two screws that attach the armrest to the hinge. |
 |
|
2. Remove the two screws that attach the latch to the armrest. |
 |
|
3. Spray the cleaner on the armrest and make sure to get all the dirt and grease off, especially where the adhesive will be at (bottom lip) to ensure a strong hold.
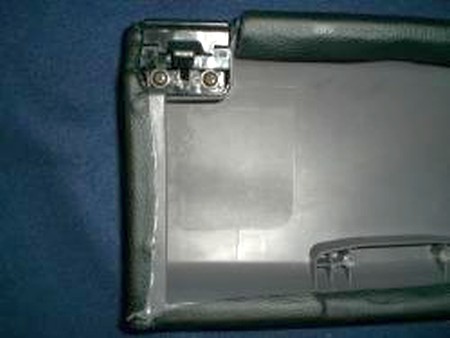
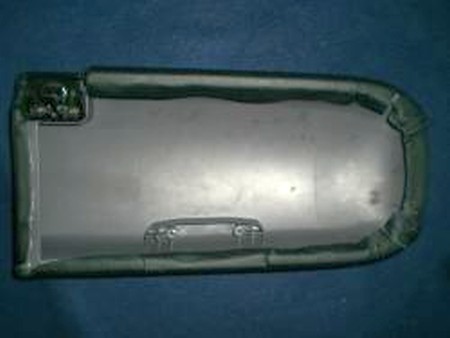
4. Place the cover on the armrest lid. Position the cover so that it is centered from left to right, and it has enough excess material to wrap around to the underneath lip. Especially make sure the front flat section of the lid is up against the cover as close as possible, because it will be difficult to close if it’s not. Where the latch is, make sure there is enough material to wrap underneath to the lip also; may need some adjusting to do so.
5. Once you have the cover positioned where you like it, put some glue on the underneath lip (red box above) and fold the material over on the glue (follow glue instructions). Make sure the cover on flat face, on the front of the lid is firmly against it with, with no wrinkles. |
 |
|
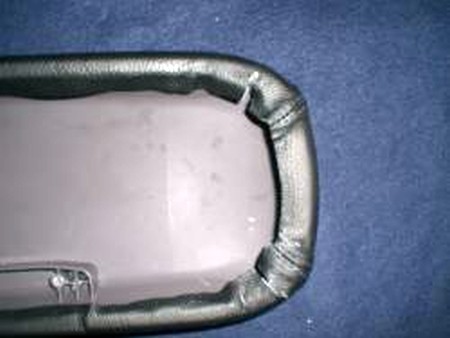
6. On the back, rounded part of the lid, stretch the leather as much as it will go and glue it down on the underneath lip.
7. Stretch the cover over the left side of the lid, and glue it down only where it is straight. Leave the curved parts for last where the material wrinkles up. If you can glue down the curved parts now, go ahead. The reason for doing this part first, is because this is the side where the latch is, and you need to make sure there is plenty to cover around that sharp corner.
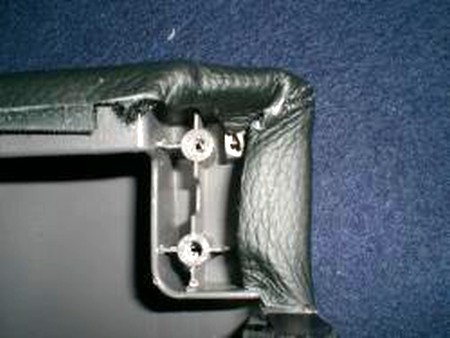
8. Do the right side next. Just stretch and glue it down. Make sure to get it in that little notch well, because that’s where the hinge goes. |
 |
|
9. Now go back and get the wrinkles out. I used a razor blade to cut it, then stretched it down and glued it. |
 |
|
10. The extra material in the corner where the latch is, stretch it down tight against the cover. When you install the latch, it will hold down that material.
11. When you install the latch and the armrest won’t close enough to latch, I used a couple small washers between the lid and the latch to bring the latch down more. |
 |
|
ENJOY YOUR NEW LEATHER BOOTS! |
|
|
|
|
Subscribe to our newsletter to get an instant 20% discount!