1962-73 LOTUS ELAN |
||||||||||||||||||||
|
Time needed - 15-20 minutes
Tools needed for job: a. Small Philips head screwdriver b. Small leather punch (or small screwdriver)
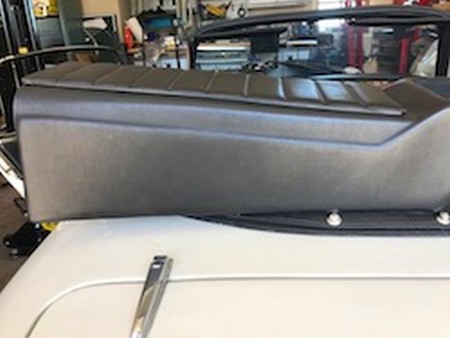
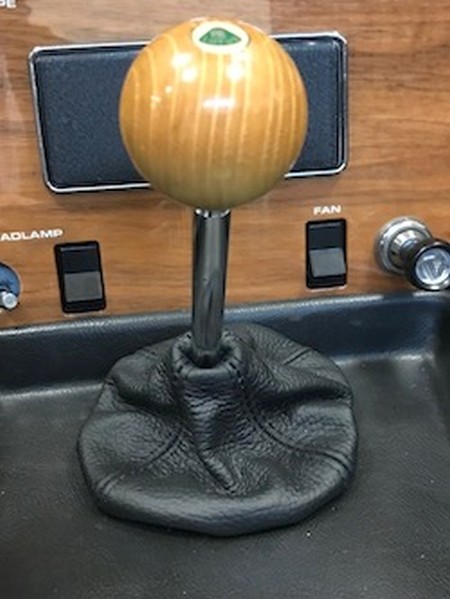
1. Remove the plastic console. This simply rests on the transmission tunnel and can be lifted up. Tips: |
|
|
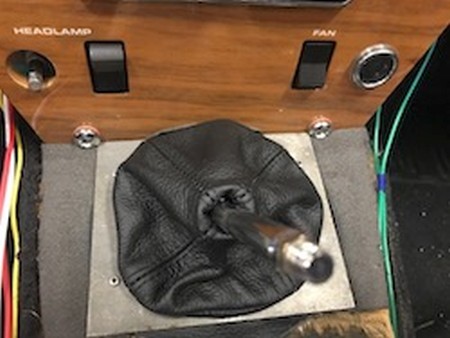
2. Remove the gear shift knob. A 3/8 nut under the knob is loosened, then unscrew the knob. |
 |
|
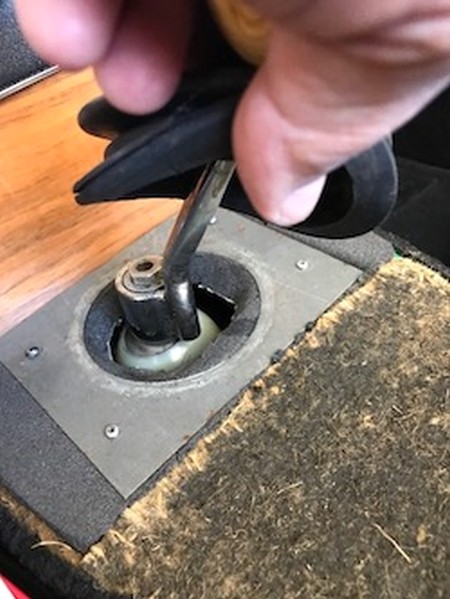
3. Remove the rubber boot. If this is still affixed to the metal plate, first unscrew the plate, then slide off the top of the gear shift lever. |
 |
|
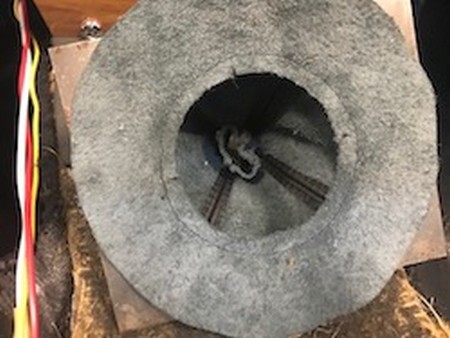
4. This is the view from the underside of the boot. |
 |
|
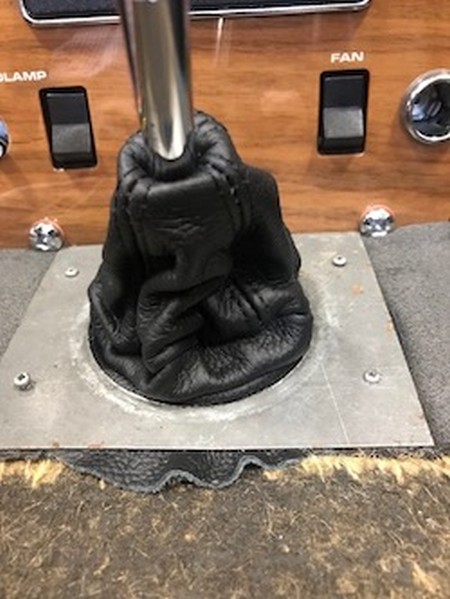
5. Unscrew the metal retaining plate using a small Philips screwdriver on the four screws (if not already done). |
 |
|
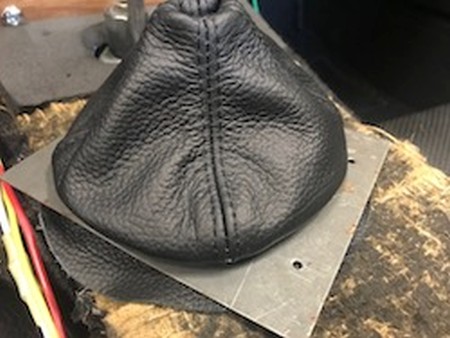
6. Insert the flap of the new leather boot into the metal plate. As seen from the bottom and top. |
|
|
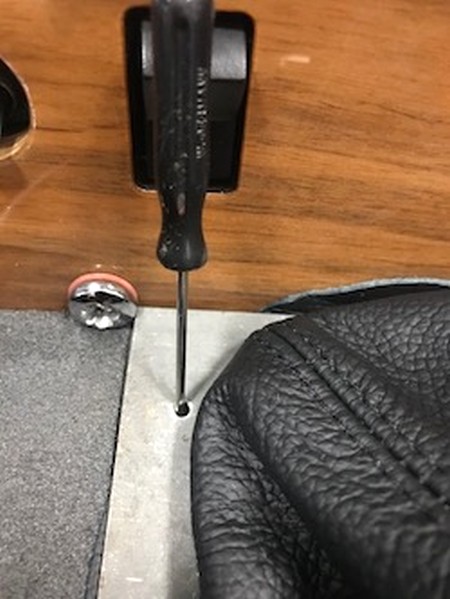
7. On underside of boot make two small slits in leather right above the metal retainer 1 1/2 inches apart. Work the retainer out of these slits to expose 3/8 of an inch on both sides.
8. Cut a piece of dowel 1 1/2 inces long. Drill each end of dowel 3/8 of an inch deep using a bit that is the same diameter as the retainer. Offset hole from center and make sure they align with each other. Put dowel between ends of exposed retainer. This will give the retainer its necessary rigidity to hold it back inside the plastic clips in the console. Keep playing with shape until it fits snuggly and cleanly. |
|
|
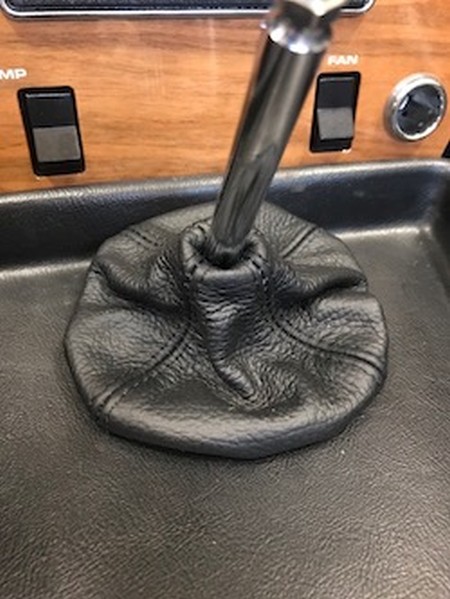
9. Installation of the completed boot is a simple reversal of the removal process listed above. Snap back into console. Flip it inside-out and slide down over shifters. Use a zip-tie to secure the collars of the boots to the console. Screw everything back in, and replace shifter knobs. |
|
|
9. Installation of the completed boot is a simple reversal of the removal process listed above. Snap back into console. Flip it inside-out and slide down over shifters. Use a zip-tie to secure the collars of the boots to the console. Screw everything back in, and replace shifter knobs. |
|
|
CONGRATULATIONS - YOU HAVE SUCCESSFULLY INSTALLED YOUR NEW LEATHER BOOTS!
Useful tip You have installed a product made out of genuine leather. As you know, to maintain a leather product in good condition, you should take care of it. We suggest occasionally (every 4-6 week for example) applying some leather conditioner/UV protector to keep your leather from drying up in the sun and cracking. |
|
Subscribe to our newsletter to get an instant 20% discount!