1990-99 TOYOTA MR2 armrest cover installation guide
90-99 MR2 CENTER CONSOLE AND GLOVE BOX INSTALLATION
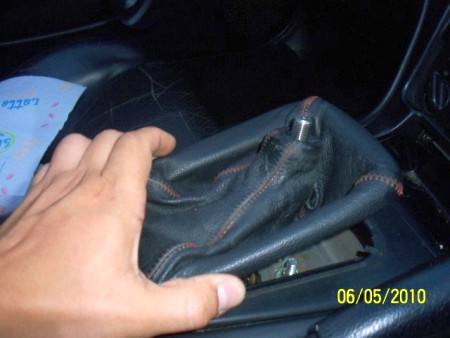
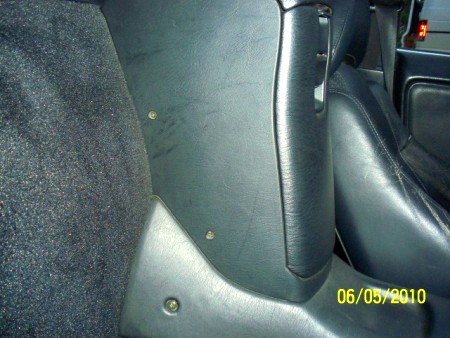
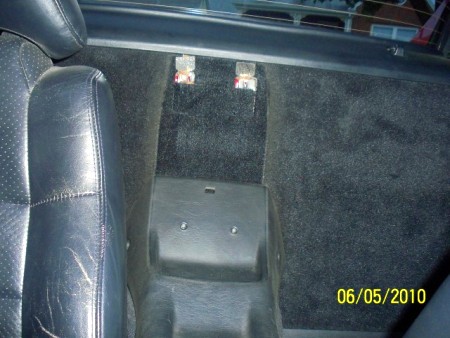
Start by removing shift knob and shift surround and once you
have that removed you will see 2 screws as pictured above, remove them. Next
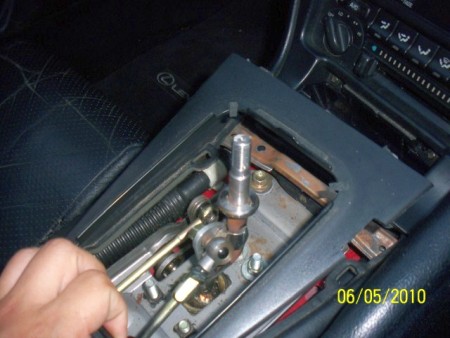
there will be on the side on the center console, 2 screws on each side that need
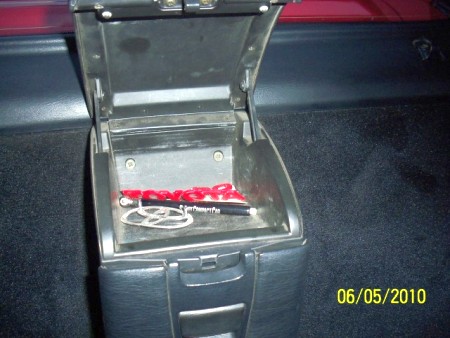
to be removed. Then open the top glove box door and you will see 4 screws,
remove them also, open the vertical glove box door and there will be 2 more
screws there that need to be removed. Once that is done removed glove box off of
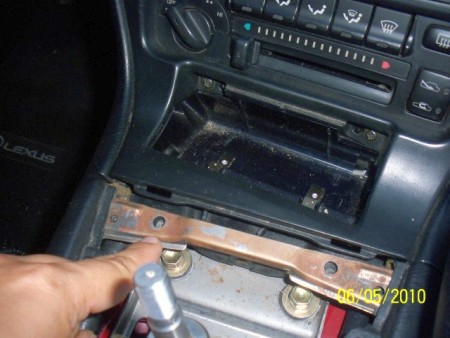
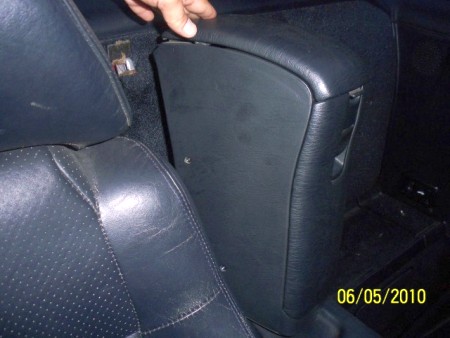
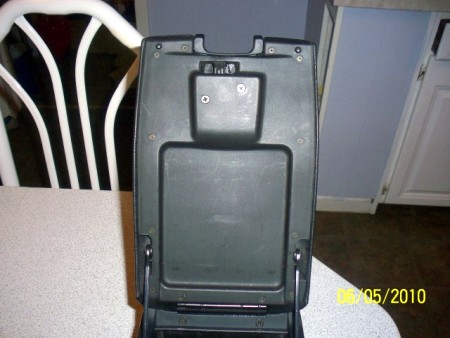
the center console then you can start to lift off the center console.
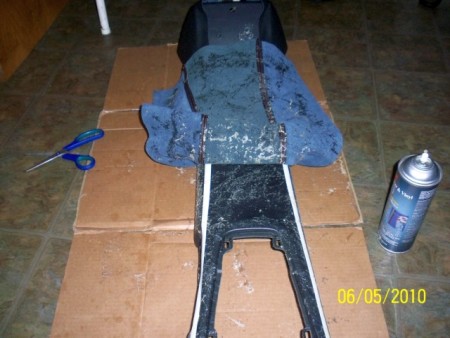
Prep the parts so that they are clean and clear of any debris.
I took the center console off and washed it with dish soap and water. Dry it off
with a lint free towel and let it air dry for about a half hour.
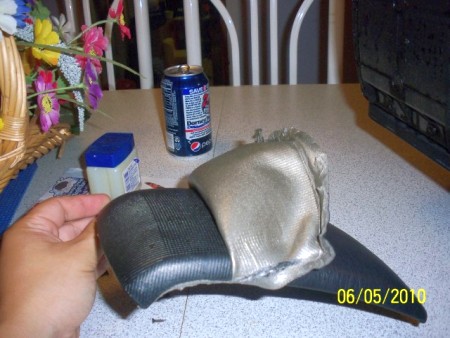
We will start to install the leather on the glove box first.
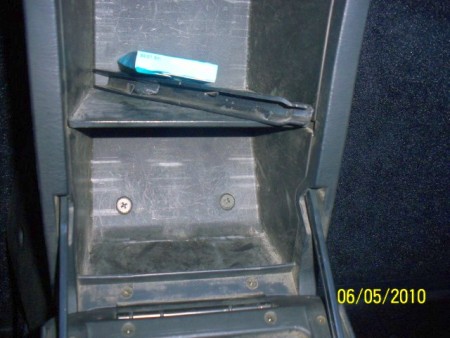
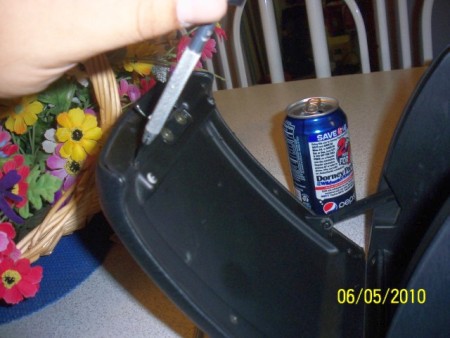
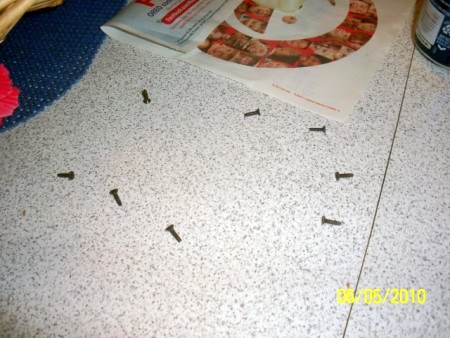
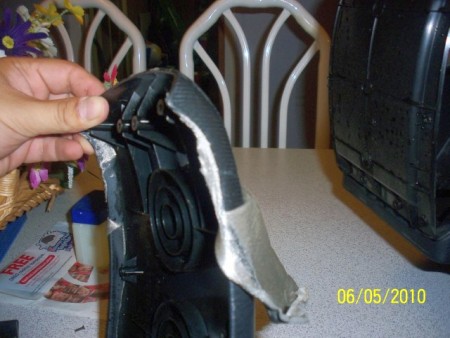
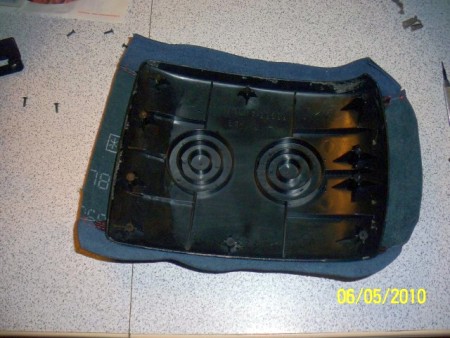
Star toff by opening the top door and removing the tiny screws on the inside
with an optical screw driver (there are a total of 9 screws that need to be
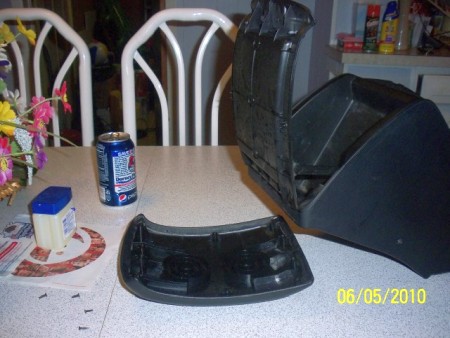
removed), once they are removed the top cover will come right off. Now remove
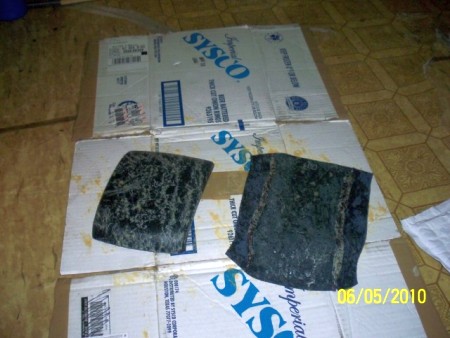
the vinyl from the glove box door cover that you just removed. Next you want
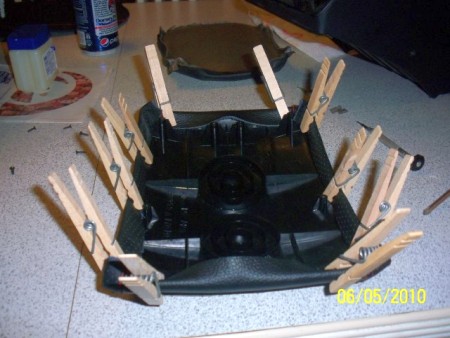
place the leather on it and line it up before applying the glue. I used clothes
pins to lay the leather down to hold it into place to give me an idea when the
glue is sprayed.
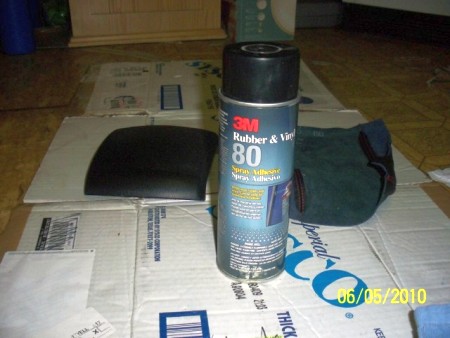
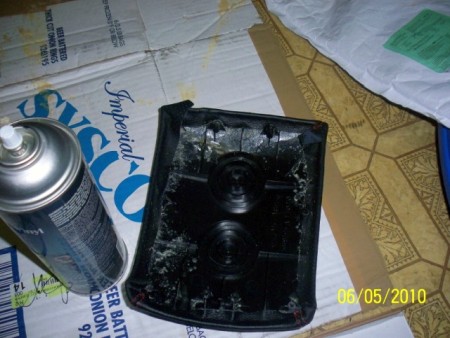
I used 3M Rubber Vinyl glue number 80 that I purchased from
Home Depot. Start by spraying the cover and the leather (preferably on cardboard
or outside because the glue is very sticky), once you have applied the glue, let
it sit for 5 minutes. Once it is ready to be applied, i started by lining up the
stitching with the edges of the cover. Make sure you stretch the leather and
that everything is lined up correctly. Wrap the edges around the cover tightly.
Now you can install the cover and screw it back in. Repeat process for vertical
door and glove box.
Repeat the same for the other door, I used tape to align the
stitching.
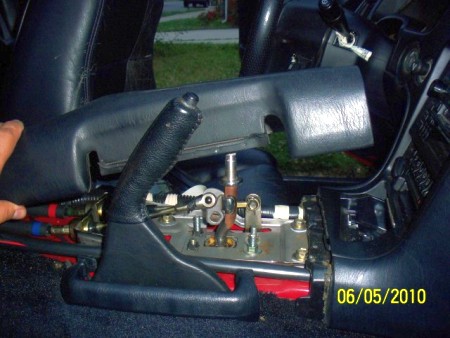
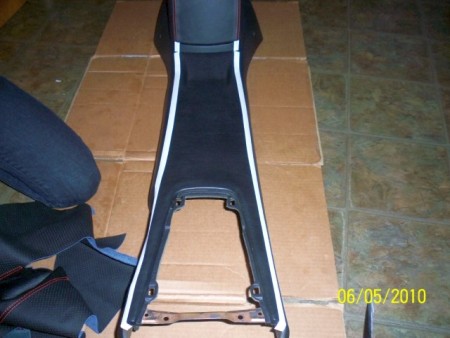
We will begin doing the center console. I started off by
placing the glove box on the center console, then I placed masking tape on the
center console to line it up with the stitching on the glove box so that
evrything lines up correctly and also as a guide for applying the leasther on
the center console. Again start off by spraying the leather adn the leather
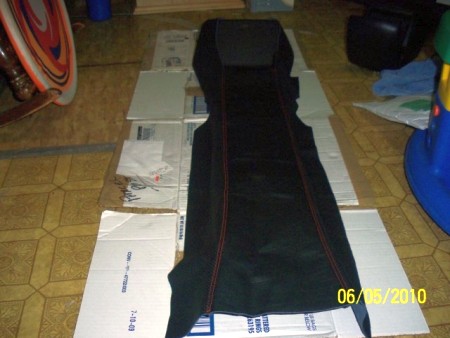
console and letting it sit for 5 minutes. The leather console is pretty long so
advise you have at least 2 people helping you so it is easier to manage. I
started off at the end of the center console by the glove box and started lining
up the stitching with the masking tape marks that I previously made. Start
appling the leather slowly and start at the edges to wrap around the center
console. When the leather is applied halfway down the center console, jsut take
a break and look over everything to make sure it is lining up correctly. For the
edges I applied clothes pins to it can dry and hold better. the leather is pre
cut pretty long so it can wrap nicely around the center console. there will be
some spots where there will alot left over, you just need to trim it with
scissors, you will need to trim around the shift surround so all the holes for
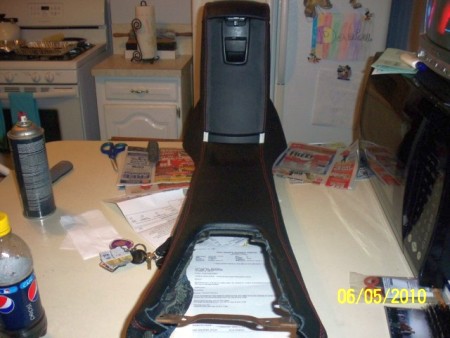
the shift surround can snap back in. Once it is done just look over everything
to see if there are any spots that need extra glue (I put extra glue on spots
that I thought it was needed). I let it sit and dry over night, but it is not
needed as the glue dried instantly. Once that is done, just reverse procedures
and start to screw everything back in.