1990-99 TOYOTA MR2 |
||||||||||||||||||||||||||
|
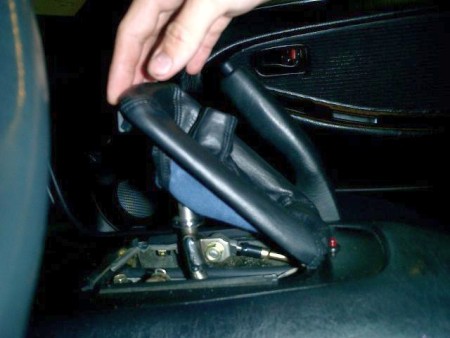
1. Unscrew the shiftknob by turning counter-clockwise.
2. Lift up on the edge of the shift boot closest to the climate control.
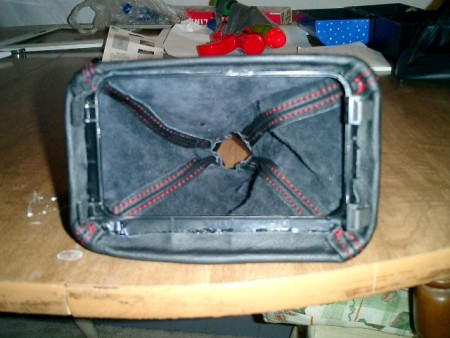
3. Remove the shift boot assembly and remove the plastic base and ring at the top of the boot (note: for '93 and up vehicles I believe the ring at the top of the shift boot is smaller and may be of use. I however have the TRD quickshift kit installed and own a '91 so the big ring that I had was not used).
Because I did not use the ring from my old shift boot, I flipped the new boot inside-out, folded the top of it over slightly, and glued it in place to give it a clean-looking top. |
 |
|
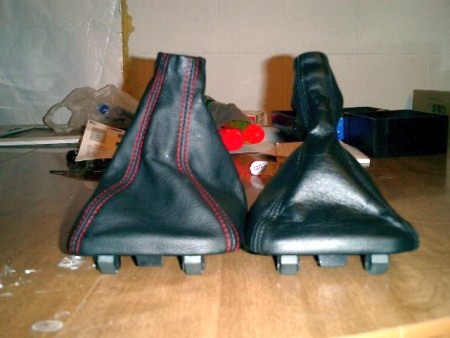
4. Then, to get a close match on the height of the new boot, I eyed up the position of the old boot on the new one. The new boot is on the right and the old boot is on the left. |
 |
 |
|
|
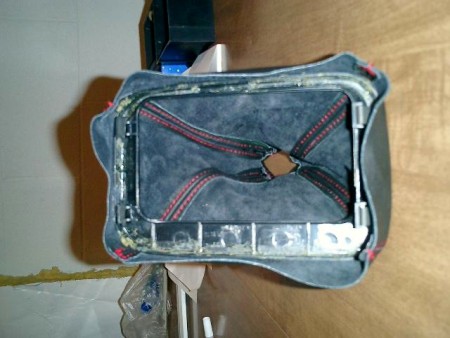
5. After getting as close as I could on the height I began glueing using superglue. Try to pull each side tight so as not to have any wrinkles in the finished product.
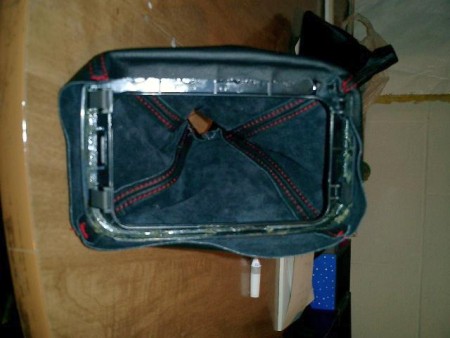
6. After glueing all four sides, be sure to tuck in the corners and the extra material or else the base will not sit properly and won't look very good.
|
 |
 |
|
 |
|
|
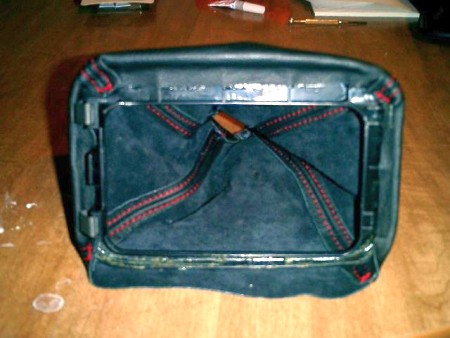
7. A comparison of the two boots. The new boot is on the left and the old boot is on the right.
If you are NOT installing the e-brake boot, proceed directly to (13). |
 |
|
8. Remove the two screws visible next to the ash-tray, on the metal frame. |
 |
|
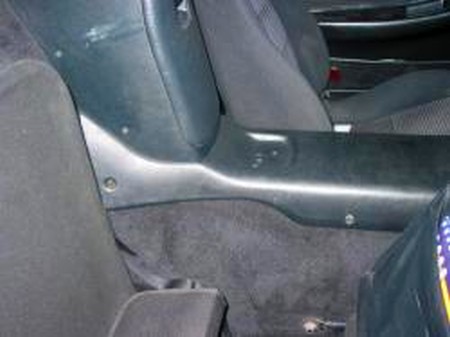
9. Remove 4 screws (2 on each side) of the center console. |
 |
|
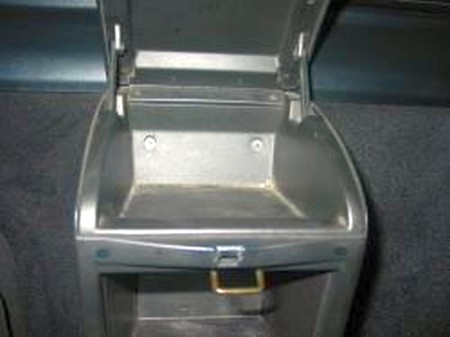
10. Remove the screws in the storage containers behind the seats. There are two in the lower container... |
 |
|
11. ... and two in the upper one. |
 |
|
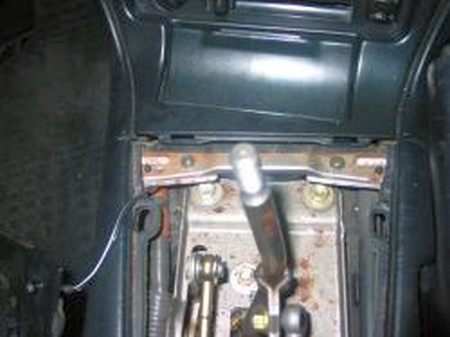
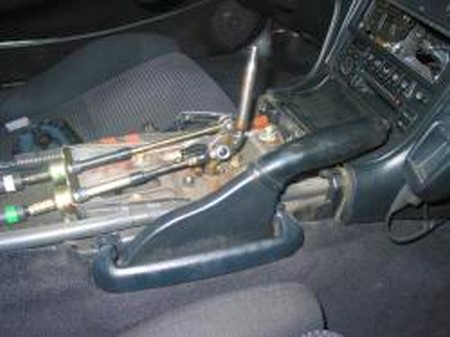
12. Remove the center console, slide the e-brake boot over the plastic handle as far as it will go. Reinstall the center console in the reverse order of removing it. |
 |
|
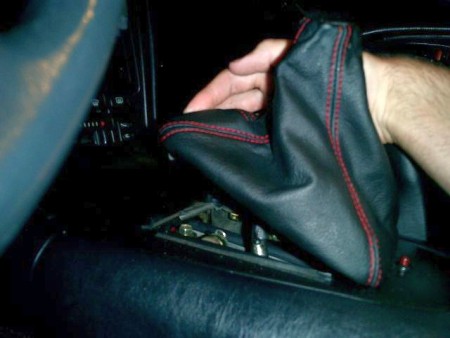
13. To install the shift boot back, hang the clips on the bottom of the base (not the metal spring clips) and tilt away from the climate control.
14. Push down on the side closes to the climate control put the base in place and re-install the shift knob by turning clockwise.
CONGRATULATIONS - you're done! |
 |
|
|
Subscribe to our newsletter to get an instant 20% discount!