2003-07 SATURN ION |
||||||||||||||||||||||||||||||||||||||||||||||||||||||||||||||||||||||||||||||||||||||
|
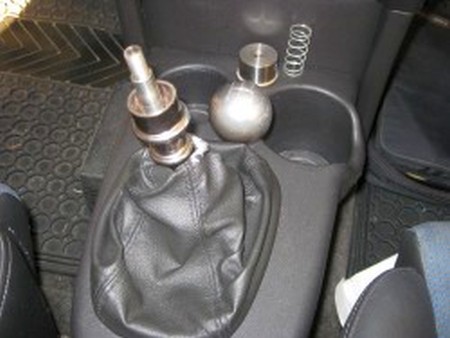
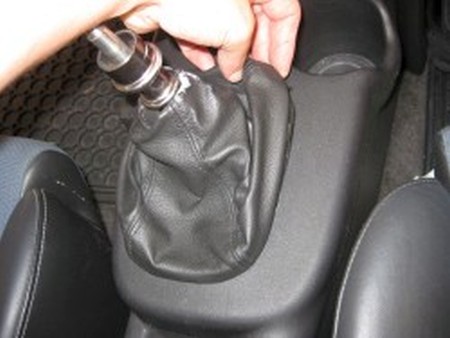
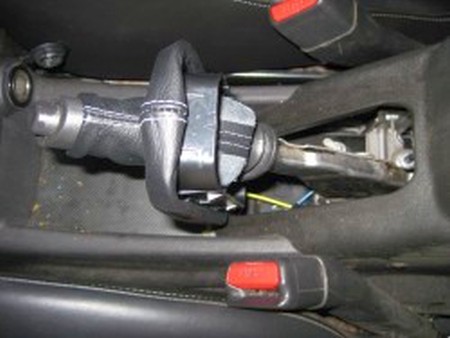
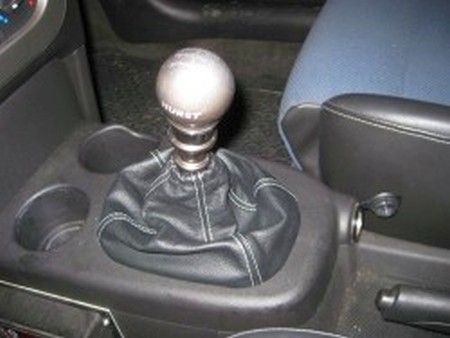
1. Begin by removing the shift knob, spring, and column above the shift boot. Aftermarket knobs will unscrew while the stock knob has a bolt underneath the gear pattern plate. |
|
|
2. The shift boot is installed around a plastic ring that keeps the bottom in place. Gently lift up from the front of the shift boot and the ring will come up. |
 |
|
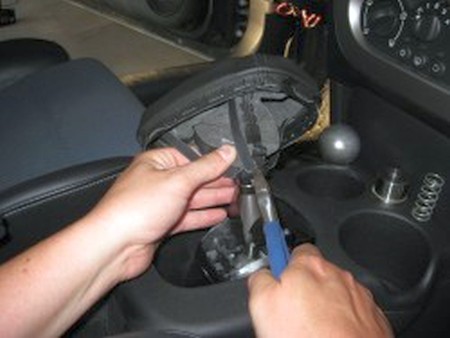
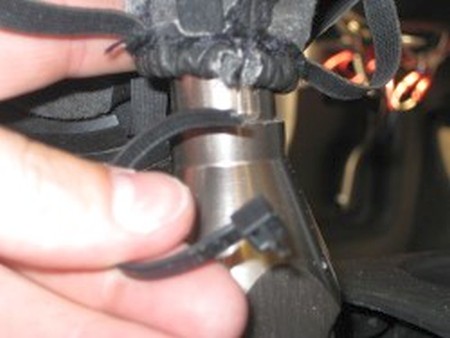
3. Pull the boot upwards until it is inside out. There is a zip tie used to attach the top of the shift boot to the shift lever. Locate the zip tie and snip it with a pair of wire cutters. |
 |
|
4. From this point the shift boot can be removed over the top of the shift lever easily and out of the vehicle. |
 |
|
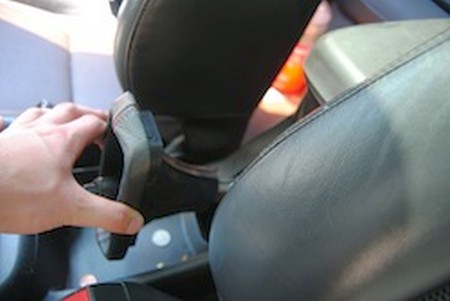
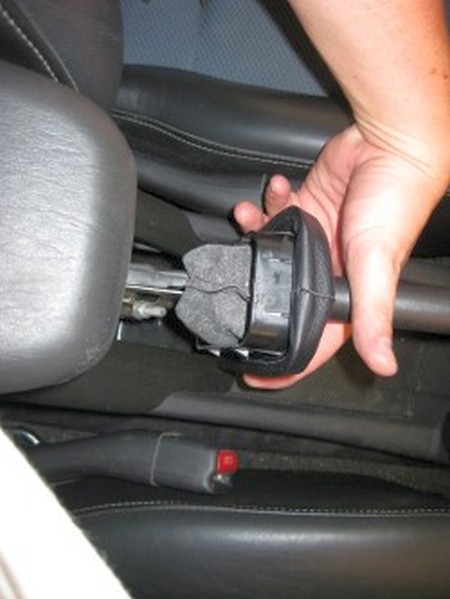
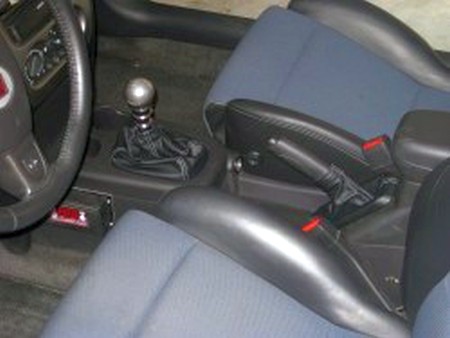
5. The E-Brake boot is removed by lifting up gently at one corner and popping the plastic ring out just like the shift boot. |
 |
|
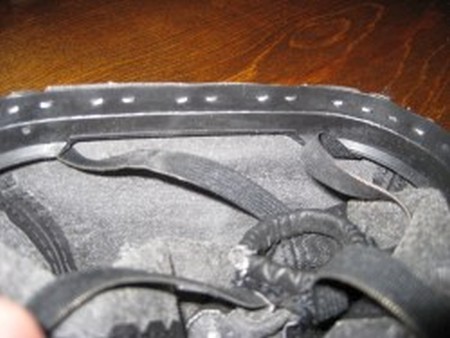
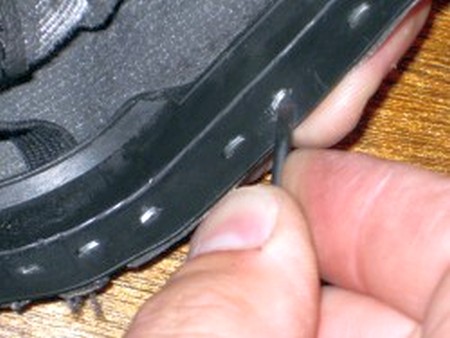
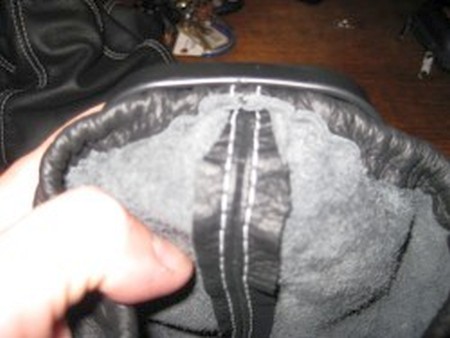
6. To remove the shift boot from the plastic retainer ring, you will need a pair of pliers. I found it useful to have a small metal pick or screwdriver handy as well. Carefully remove the staples from the retainer ring and take them out of the shift boot. |
|
7. Once all the staples are removed the boot can be taken off the retainer ring. |
 |
|
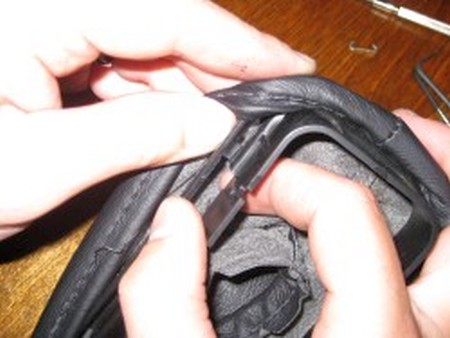
8. The E-brake boot is attached to the retainer ring slightly differently. The boot is pushed around the outside of the ring and is tucked back in between the outside ring and a smaller inner ring. With a bit of force, you can pull the boot of from the rings using only your fingers. |
 |
|
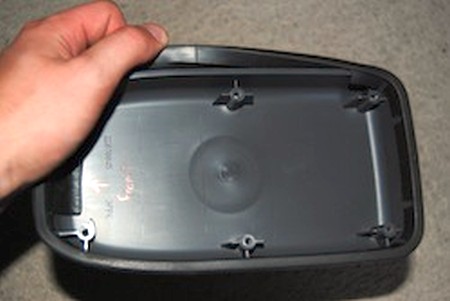
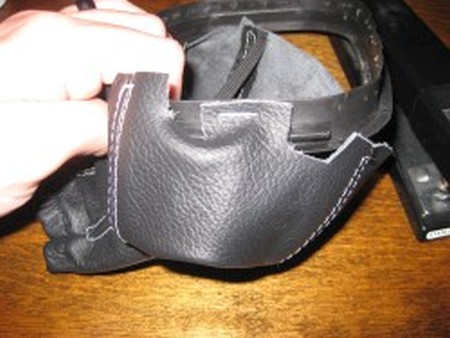
9. Now its time to install the boots. Let’s begin with the shift boot. There are two plastic tabs on both the front and the rear of the shift boot retainer ring. The distance separating the two is not the same and the shift boot is cut differently to fit around the tabs. Match up the cuts on the shift boot with the plastic tabs on the retainer ring. |
 |
|
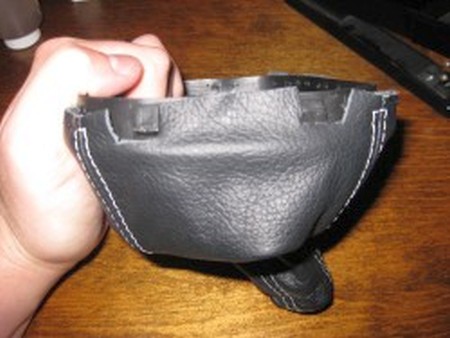
10. Take the stapler and attach the shift boot by putting one staple in between the plastic tabs. |
 |
11. Work your way around the retainer ring by installing staples in the corners and spacing staples about every ¼ inch until you reach the opposite side of the ring. Make sure the cut sections on the shift boot fit between the plastic tabs on the retainer ring and staple once in between the tabs. Screw back on the shift knob. |
 |
12. Continue attaching the shift boot around the rest of the retainer ring until you reach the starting point. Make sure your staples are fully attached and are securely holding the shift boot to the ring. |
|
13. To install the E-brake boot, you will need to begin by putting one corner of the boot back between the inner and outer rings on the retainer. Remember that when the boot is fully installed, it will wrap around the outside of the retainer ring so you will need to install the boot exactly as seen in the picture below. |
|
14. Stretch the boot around the other side of the retainer ring. This will be a tight fit and may take a few tries but it will eventually fit. |
 |
15. You will now need to press the edge of the boot between the inner and outer rings on the retainer. You can use any blunt narrow instrument to press the boot into place. I used the tip of a flat head screwdriver and carefully pressed them down. Now both boots are ready to be installed back into the vehicle. |
 |
16. The E-brake boot will slide back over the E-brake and snap back into place on the center console. |
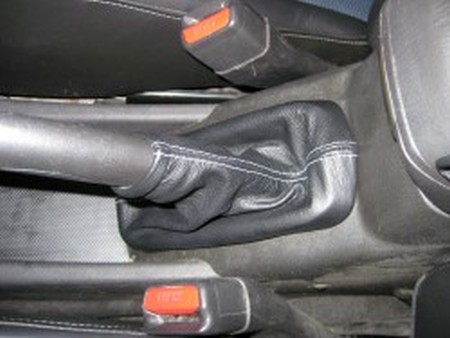 |
17. The shift boot will slide over the top of the shift lever. These have an elastic band that will stretch and there is no need for a zip tie like in the stock shift boot. |
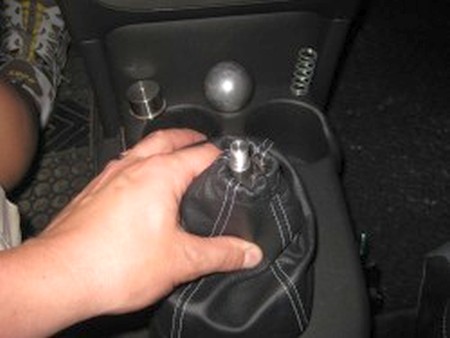 |
18. The retainer ring for the shift boot snaps back into the console just like the E-brake boot. It will be a tight fit. I suggest pulling up slightly on the boot to make sure that the retainer is fully seated. |
 |
19. Finally, reinstall the column, spring, and shift knob. Make sure that the boot fits correctly by running through all gears before starting the vehicle. If the boot does not restrict movement, the car is ready to drive and the installation is complete. |
 |
|
CENTER ARMREST AND DOOR INSERTS |
|
|
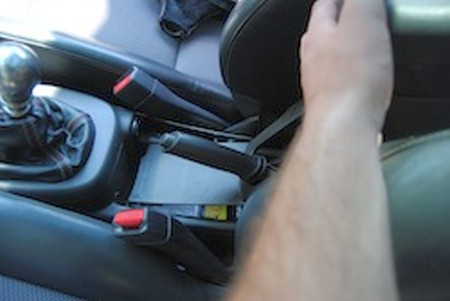
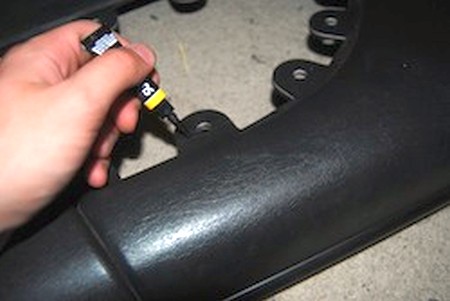
2. Squeeze the sides of the parking brake boot to loosen it. Pull it off the parking brake arm assembly. Pull up on the assembly gently. There are are few clips that hold it in place. |
 |
|
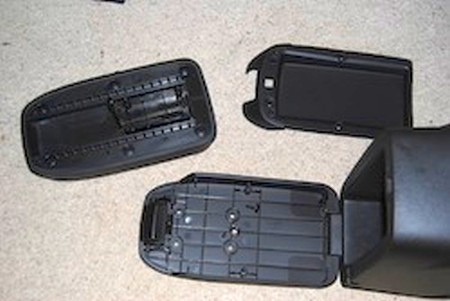
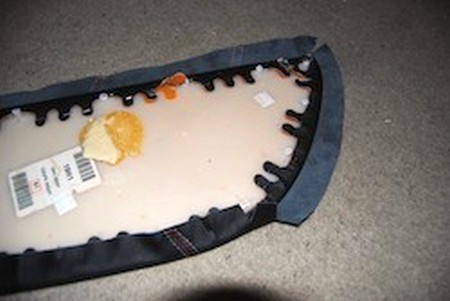
3. Open the lid of the arm rest. There will be four screws on the inside of the lid. Remove these (in the picture you can see two of the screws have already been removed. |
 |
|
4. Remove the plastic piece that you've unscrewed. Underneath you'll see four more screws. Remove these, as well as the button that opens the lid (it just pulls up). |
 |
|
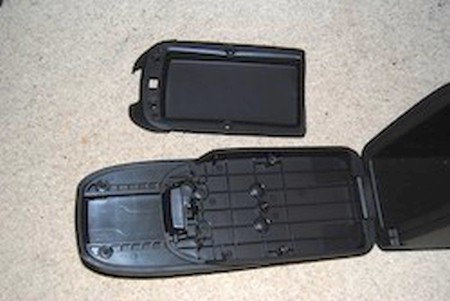
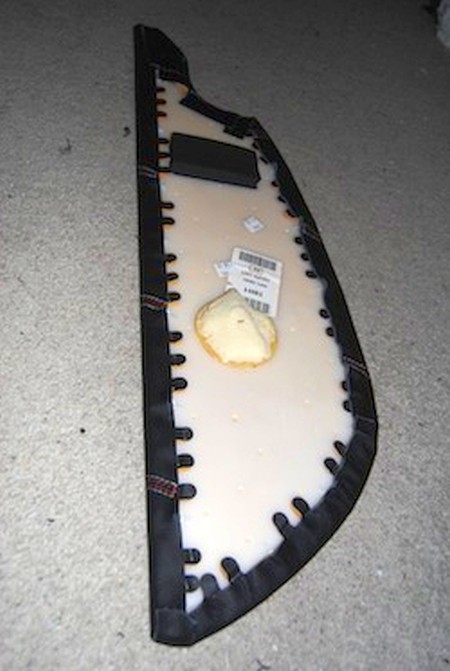
5. This will remove the entire lid from the assembly. Now you will see six screws on the lid. Remove these and the cover should come off. |
 |
|
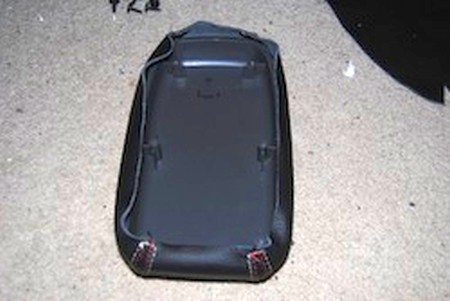
6. The soft cover at this point can slide off of the hard lid. |
|
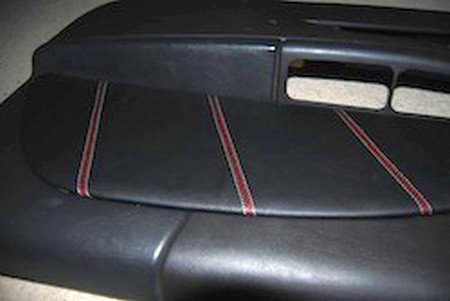
7. Wrap your new RedlineGoods cover around the stock cover. You can use glue to hold it down better, but I found that it was not necessary while installing mine. Now you can start reassembly. Reassembly is the opposite of removal, the only thing to note is when putting the first plastic piece back on (the one with 6 screws), you want to tuck the Arm Rest cover underneath this to hold it tightly in place. Reinstall arm rest into the car and enjoy your new leather cover! |
 |
|
INSTALLING THE DOOR INSERTS |
 |
|
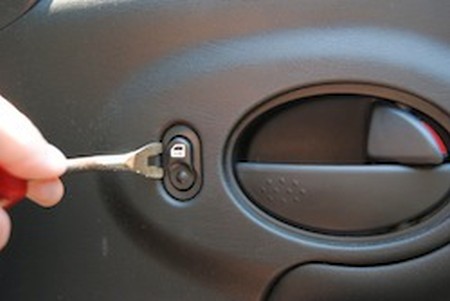
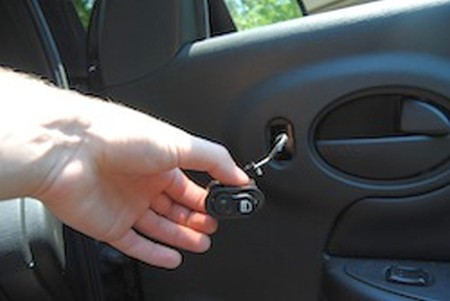
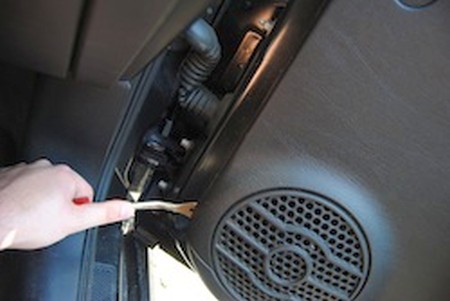
9. The wiring harness just unplugs from the back of the switch. |
 |
|
10. In the door handle pocket, there are two screws. Remove these using a Philips head screwdriver. |
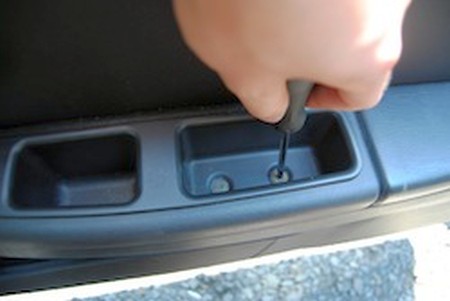 |
11. Once both are removed, pull up on the door handle pocket assembly. |
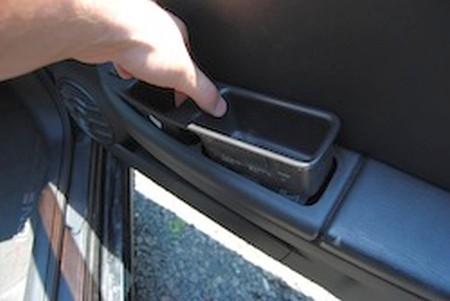 |
12. Remove the window switch wiring harness from the door handle pocket assembly. The driver's side will have an additional harness for the power mirror switch (not pictured), but is just as easy to remove. |
 |
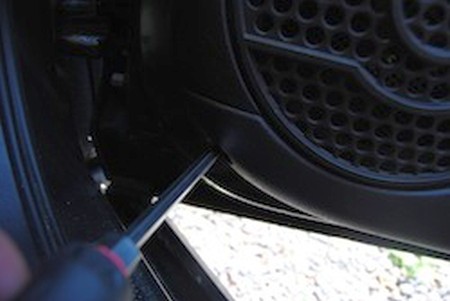
13. Now it's time to begin removing the door panel. In the lower corner next to the speaker, there is a screw that needs to be removed with a Philips head screwdriver. |
 |
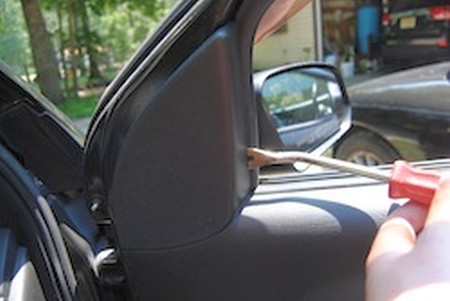
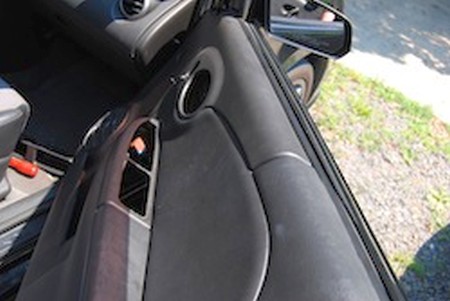
14. Using your pry tool, pry off the side-view mirror cover. It just clips in, so you don't have to worry about breaking it or anything. |
 |
15. Begin removing the door panel using the pry tool. The best corner to start with would be the one where the screw was removed in step 4 (there are no push-pins in this corner to worry about). |
 |
16. Now begin moving around the door and pulling the panel off the door. |
 |
17. Don't worry about breaking the pins, they're somewhat durable and cheap to replace if you lose or break one. |
 |
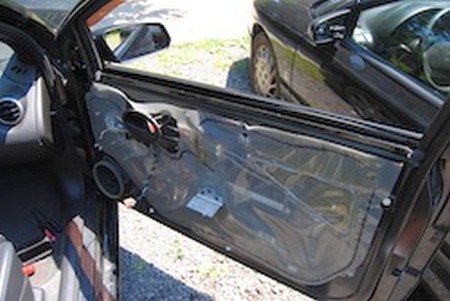
18. Once you have the entire panel except the top removed, pull up on the assembly (as if you were sliding it along the window) and remove it from the door. |
 |
19. Starting with one of the flat sides, fold the cover over edge and glue it down to the card. |
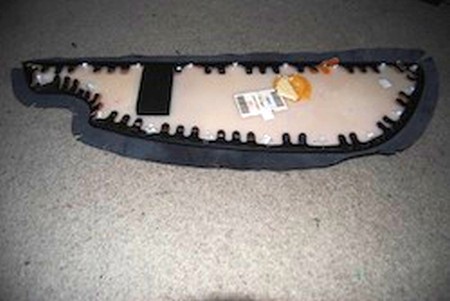 |
20. Work your way around the card, doing the same as above (folding and gluing). When you get to opposite sides of where you've glued already, be sure to pull on the fabric before gluing so there's no slack that could cause unwanted wrinkles in the new leather. |
 |
21. Since the plastic welds used to originally mount the cards are useless, I used super glue to attach the cards back to the door panel. Put super glue around the holes. |
 |
22. Place the door panel card back on the panel and allow the glue to dry. Gently pull up on the cards after you've let enough time for the glue to dry to make sure it bonded well enough. |
 |
23. Reinstallation of the door panel is opposite of removal. One thing to note is that before pushing the panel back onto the door, feed the wiring harnesses through the openings so they are not lost behind the doors when you need them. Once you are done, enjoy your new leather!! |
 |
|
CONGRATULATIONS - YOU HAVE SUCCESSFULLY INSTALLED YOUR NEW LEATHER BOOTS!
Useful tip You have installed a product made out of genuine leather. As you know, to maintain a leather product in good condition, you should take care of it. We suggest occasionally (every 4-6 week for example) applying some leather conditioner/UV protector to keep your leather from drying up in the sun and cracking. |
|
Subscribe to our newsletter to get an instant 20% discount!