2009-13 KIA SOUL |
||||||||||||||||||||||||||||||||||||||||||
|
SHIFT BOOT |
 |
|
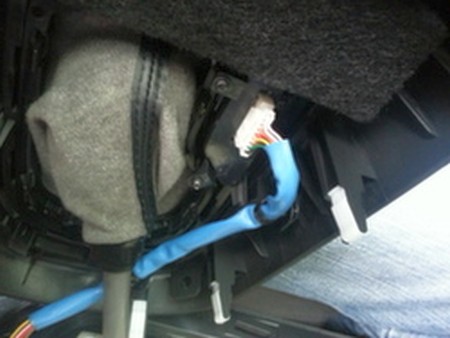
2. Unplug the harness from the console |
 |
|
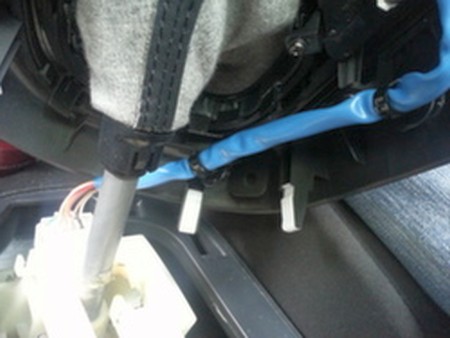
3. There are about 7 tabs holding the remaining boot on, push those in to remove the boot. |
 |
|
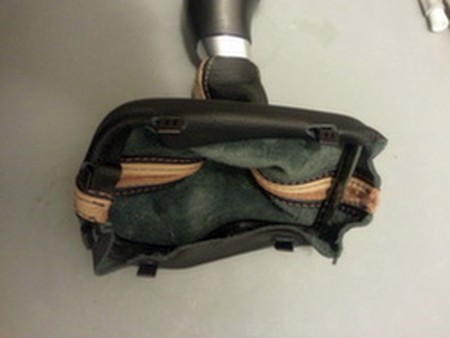
4. To remove the boot from the knob, peel back the 2 small clips holding the shift boot on. You can now peel back the plastic clip holding the bottom of the boot |
 |
|
5. Installation: instead of using the black clip, you can ziptie the boot back on by turning the boot inside out and folding back over. |
 |
|
6. Glue back on the plastic molding and reinstall. It will be a tight fit, but a little pushing will put everything back in place. |
 |
|
ARMREST COVER |
 |
|
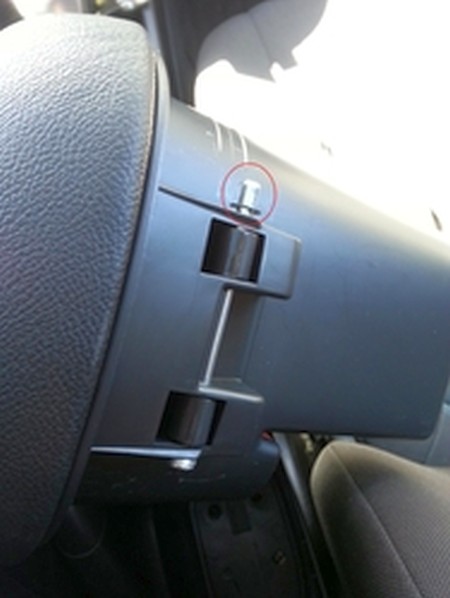
2. On the back of the center console, remove the c-clip with a small screw driver and set aside. Next use a small mallet to tap the long screw out. (When putting back together, use a small dab of soap to make it slide back in easier). |
 |
|
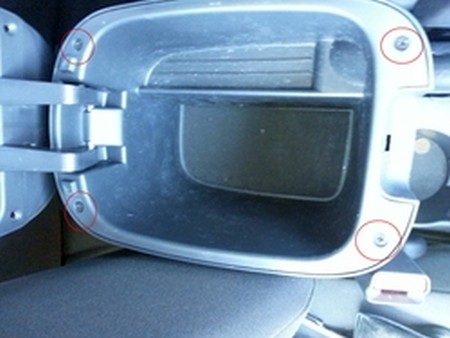
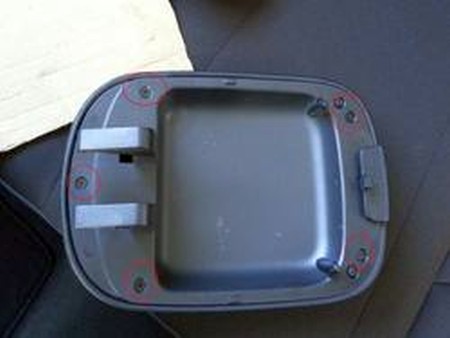
3. With the top /hinge off, you can now remove all 5 screws holding the top of the lid on. |
 |
|
4. Slide the cover over the lid, it will fit snug. When attaching the lid back to the hinge, make sure the lid lift button is secured back in its position and that the spring works properly. Reattach the 5 small screws. The button hole on the center console might need to be adjusted; a small utility knife to cut away the thin plastic is all that is needed. |
 |
|
DOOR ARMRESTS |
 |
|
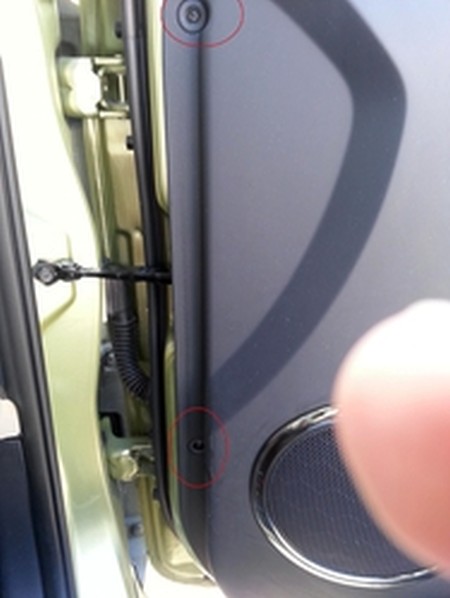
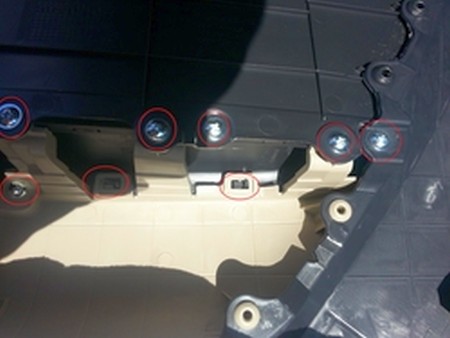
2. On the Front and rear doors there are 3 screws on the outer edge of the doors. Remove the small plastic covers and remove the screws. |
 |
|
3. On the front door remove the top triangle trim outside of the mirror. |
 |
|
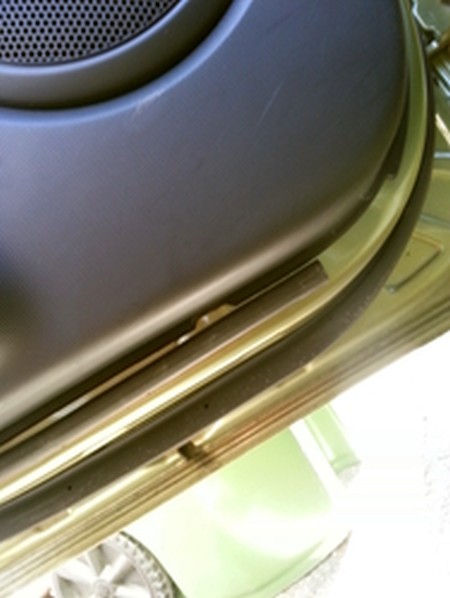
4. On the bottom middle of the door there is a small notch, push a flat head screwdriver in the slot, pull up and pop the retainers holding the door trim in. |
 |
|
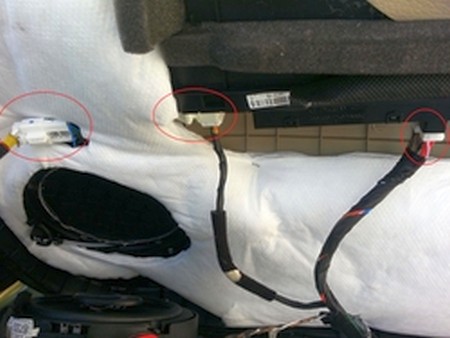
5. Disconnect the 3 connectors. Same with the front and rear doors. |
 |
|
6. With the trim off, near the door handle, there are several phillips head screws. Remove them all, there are about 12-15 screws. |
 |
|
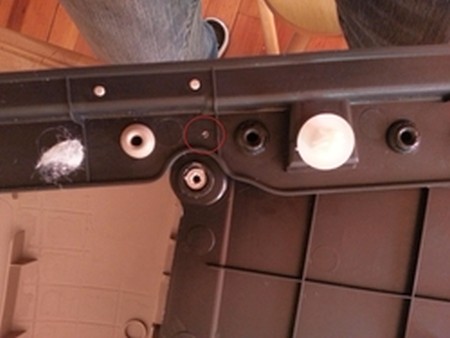
7. On the front door, there is a hidden screw that is only accessible by cutting the plastic around it. It is located right behind the outer edge of the armrest. |
 |
|
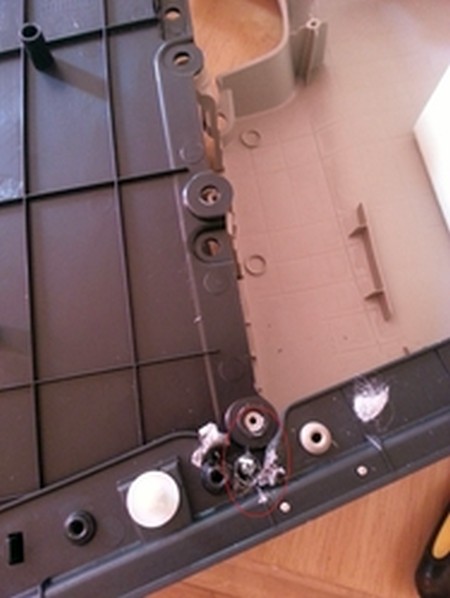
8. Use a drill to make a small hole and then pliers to cut away the plastic. |
 |
|
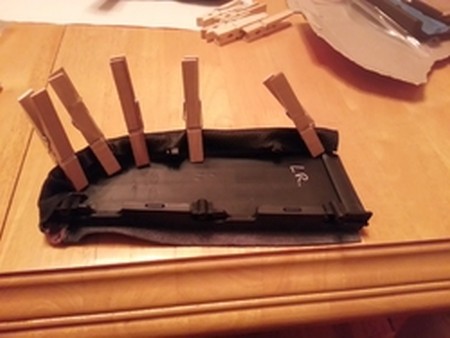
9. Test fit the new armrest cover with clothing pins. It will be up to you to use the existing rubber cover, or use foam padding underneath. Once you get the trim where you want it, trace the area onto the new pad. Spray the 3m vinyl glue and let it get tacky for about 3 minutes. The leather will stick firmly once pulled over the hand rest. Proceed to next door. :) |
 |
|
ENJOY YOUR NEW LEATHER GOODS! |
|
|
Useful tip You have installed a product made out of genuine leather. As you know, to maintain a leather product in good condition, you should take care of it. We suggest occasionally (every 4-6 week for example) applying some leather conditioner/UV protector to keep your leather from drying up in the sun and cracking. |
|
Subscribe to our newsletter to get an instant 20% discount!